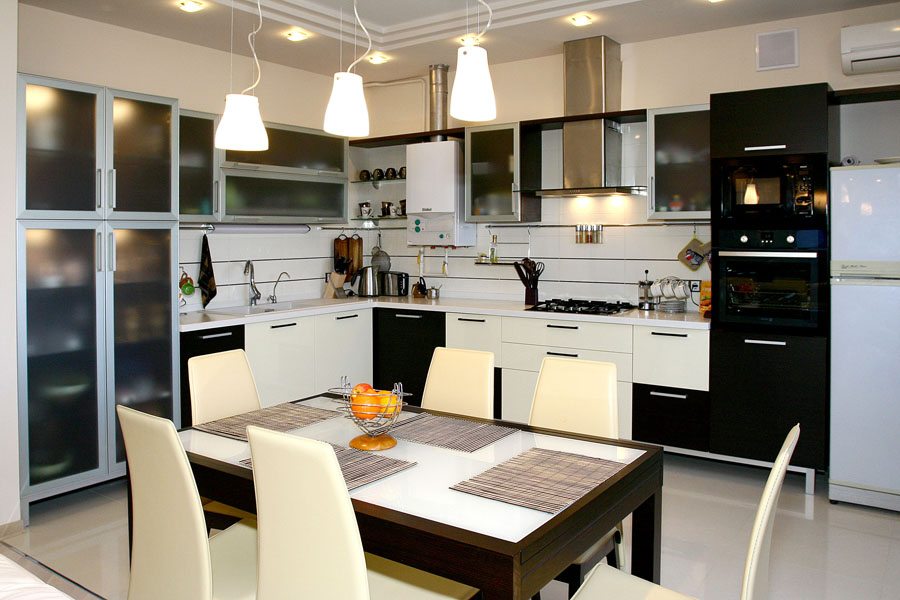
In recent years, stretch ceilings have been very popular. They decorate not only apartments and private houses, but also office premises, shopping centers and public institutions. You can give preference to regular or multi-tiered ceilings of various colors. When purchasing a chandelier for a stretch ceiling, it is important to take into account that the suspended structure is lowered by a few centimeters. Therefore, for small spaces, it is impractical to buy a large lighting fixture.
Features of choosing a chandelier for a stretch ceiling

Before installing a chandelier on a stretch ceiling, you need to familiarize yourself with the requirements for a lighting fixture. Polyvinyl chloride fabric is susceptible to directed bright light, as a result, the color changes, the canvas may deform. In this regard, it is necessary to select lighting devices taking into account the following requirements:
- The plafonds should be directed downwards or in different directions, but in no case upwards.
- Do not give preference to too complex and cumbersome structures, since installation difficulties may arise, and the appearance of the room may be spoiled.
- It is better to install LED or energy-saving lamps, since incandescent lamps emit a lot of heat, which has a destructive effect on the stretch ceiling canvas. When buying, it is important to ensure that the chandelier and the lamp have the same base.
- When mounting a chandelier in the form of a plate, it is important that its base is not made of metal, otherwise strong heating cannot be avoided.
- If households prefer incandescent lamps, for a PVC cloth their power should be no more than 40 W, and for a textile covering - about 60 W.
A chandelier should be an interior decoration. The wrong choice can damage the stretch ceiling, as well as spoil the design.
Requirements for fasteners and types of fasteners

The fixing of the chandelier to the stretch ceiling after installation can be done in several ways. The choice depends on the size and design.
The main types of ceiling lamp installation on a stretch ceiling:
- Mount to mounting plate - only applicable for small fixtures. Often these plates are sold immediately with the lamp.
- Hook mounting is the most common and reliable mounting option. You can use an ordinary anchor hook. A common occurrence is when the anchor is welded to the plate and then attached to the coating.
- The cross-shaped mounting bar is also designed for small luminaires and is often included with them.
- Mounting on an I-bar is designed for large chandeliers with impressive weight.
To make it easier to determine the optimal mounting method, you need to consider the advantages and disadvantages of each of them.
| Mounting type | Benefits | disadvantages |
| Butterfly dowel | simplicity and ease of installation, the ability to mount a chandelier of any size and weight | in comparison with other types of fastening, reliability is not so high |
| Hook | quick and easy installation, high degree of reliability | not suitable for all types of lighting fixtures |
| Plank | the ability to mount almost all types of lighting fixtures; in the end result, the design is simple and uncomplicated | additionally you need to purchase a block of wood |
| Crosspiece | mount chandeliers even with impressive weight | the installation process is quite laborious |
Tools and materials
You can install lighting devices yourself, the main thing is to familiarize yourself with the requirements for choosing a chandelier and fasteners, prepare all the necessary tools and materials. The master will need:
- stepladder or table;
- for embedded bars or moisture resistant plywood;
- drill or hammer drill;
- dowels;
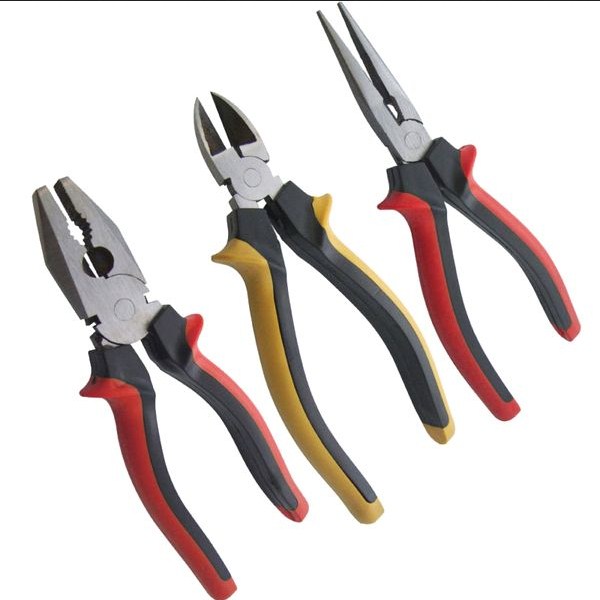
- pliers with insulated handles;
- plastic rings;
- screwdrivers;
- self-tapping screws;
- insulating tape;
- anchor hook;
- wires VVng-LS;
- mounting strips;
- terminal blocks.
You can buy everything you need in hardware stores, before buying it is better to consult with a consultant.
How to choose a place for a lighting fixture

The lighting scheme is of great importance in the design of the room. To choose the right place for the lighting fixture, you need to familiarize yourself with the existing schemes:
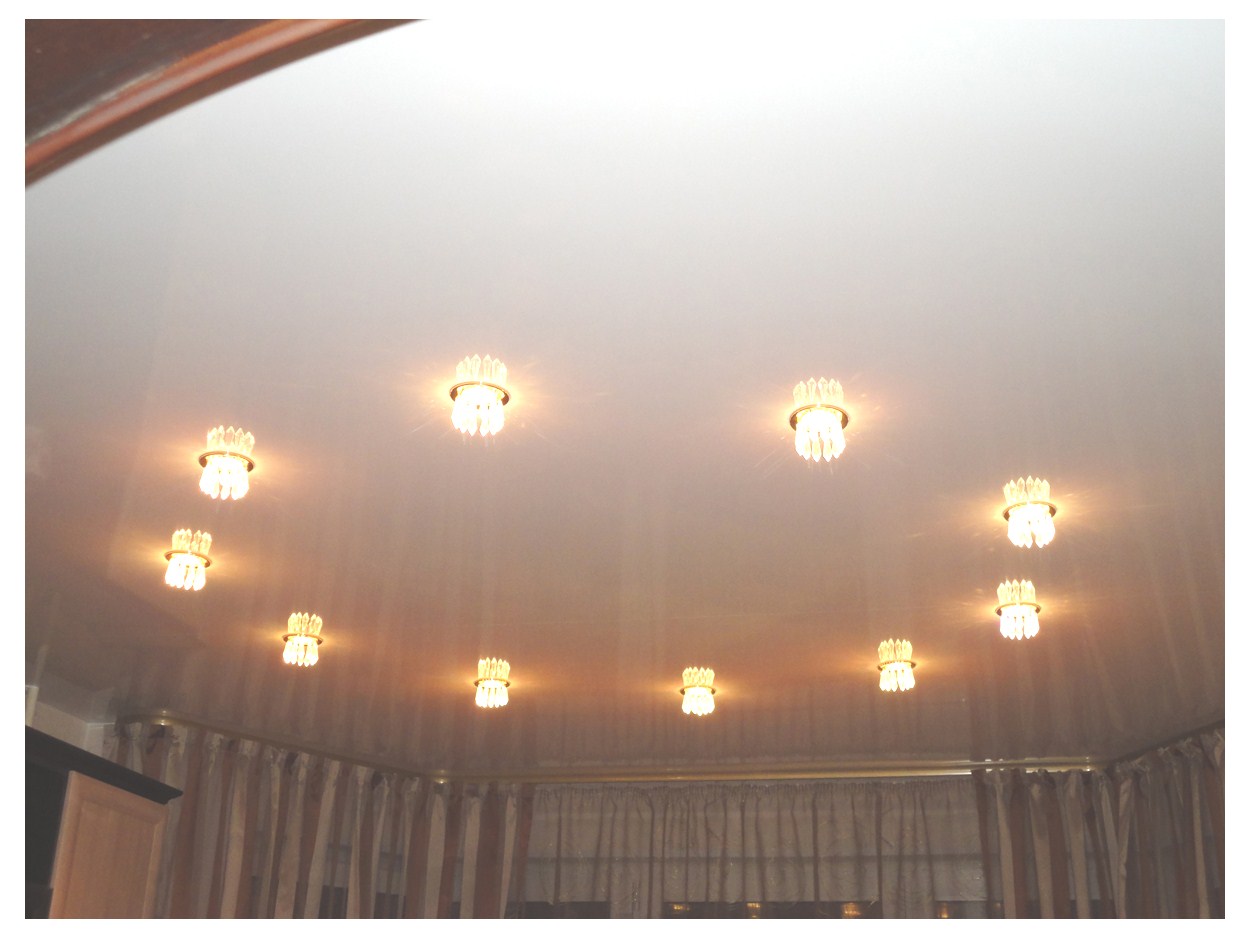
- Central lighting. Traditional, but outdated option. A single chandelier is installed in the center. Suitable for medium sized rooms, large rooms will have darkened corners.
- Spot lighting located in different corners. There are many options for the location of lighting devices. As a rule, when drawing up a design, experts pay attention to the shape of the room, recreation and work areas, the number and location of windows. This option is not only convenient, but also economical due to the fact that the backlight is turned on only in the desired area.
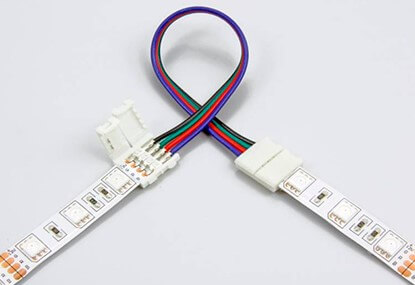
- Contour lighting is mounted using diode strips, which have recently become popular. For stretch ceilings, this is the most preferred lighting method due to minimal heat transfer. The tapes are installed in close proximity to the ceiling sheet.
If you combine lighting schemes, you can end up with a beautiful and functional ceiling. But it is important to consider that each room needs an individual approach.
Preparing the wiring
It is necessary to prepare the wiring in advance. To do this, perform the following manipulations:
- Disconnect the electricity supply to the room.
- Take the previously purchased VVng-LS wires and lay them from the place of the switch to the place where the lighting device will be located.
- It is allowed that the cable remains open, but experts recommend that you additionally install protection in the form of corrugated plastic.
If the length is insufficient, the cable can be extended by using the terminal blocks.
Connecting the chandelier to the network

After completing the installation of the selected fasteners, carrying out electrical work, wiring cables to the calculated places, they begin to connect the chandelier to electricity. The work algorithm is as follows:
- Turn off the circuit breaker on the main panel.
- Using an indicator screwdriver, check the absence or presence of voltage in the conductors of the electric wires.
- Strip the ends of the wires of the network and the lamp, connect them to each other.
- Turn on the switch on the panel and check the operation of the chandelier.
When performing work, it is important to observe personal safety precautions - you cannot work near rotating mechanisms, as well as conductive parts that are energized.
Functional check
After completing all installation work and connecting the lighting fixtures to the mains, it is important to check the integrity of the ceiling sheet - inspect for breaks, scratches and chips.
Unpleasant phenomena due to an unprofessional attitude are eliminated with the help of the following tips:
- The material located in the thermal ring is cut off, leaving it within a radius of 2-3 cm. This will prevent the stretch ceiling from sliding and deforming.
- If the integrity of the canvas is violated, special thermal stickers are used. As a result, defects are hidden and the design is not damaged.
- If you need to lengthen the wiring and, at the same time, protect it from the back of the canvas, use a special corrugation.
You can install lighting devices on stretch ceilings yourself, without seeking qualified help. The main thing is to choose the right type of mount for the purchased chandelier, be careful in your actions and follow safety precautions.