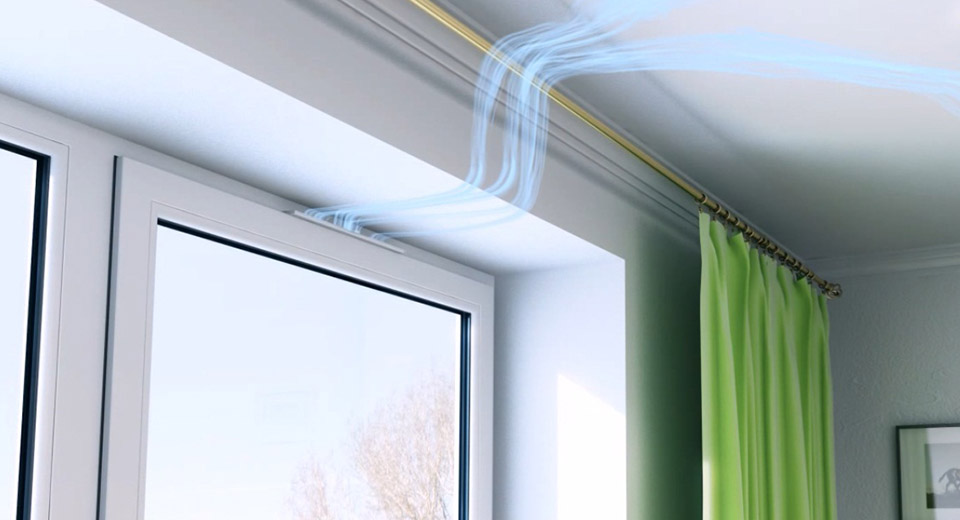
They can be of different shapes, made from different materials. Usually they try to hide them, but with a little creativity, you can turn them into an art object. On them, as on blood vessels, invisible and intangible streams run. No modern building is complete without them.
These are ventilation ducts. What are they like, how to make them silent, efficient and is it possible to assemble an air duct with your own hands?
Main characteristics of ventilation ducts
The main indicator by which the ventilation box is selected: throughput.
Ventilation boxes are also characterized by:
- sectional shape;
- material;
- section diameter.
The dimensions of the ventilation ducts are calculated according to special tables, taking into account the speed of air movement through the pipe and its throughput.
The form
The shape of the section of the box can be:
- round;
- square or rectangular.
Round boxes have several advantages:
- Smooth inner walls of boxes with a round cross-section do not create obstacles for the passage of air flow;
- They are easy to clean, as there is nowhere for dirt to linger;
- Make a little noise;
- Lower power fans can be used.
The main disadvantage of round air ducts is that they are difficult to hide in the interior.
With equal throughput, the cross-sectional area of a round box is 12% less than a rectangular one.
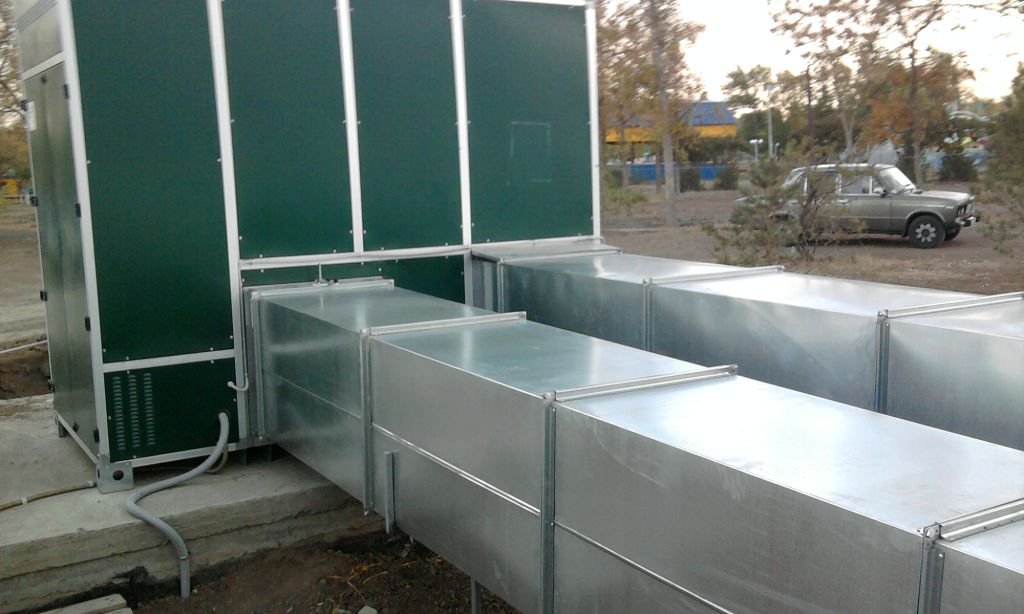
The largest and most powerful ventilation systems are equipped with rectangular steel ducts.
Ventilation ducts with a flat rectangular or square cross-section allow more efficient use of the space in the room.
Disadvantages of boxes with rectangular cross-section:
- Internal corners create air resistance;
- To cover the pressure loss, it is necessary to install more powerful and energy-consuming equipment;
- Greater aerodynamic hum.
Despite the shortcomings, the rectangular section is popular in cottage construction. A flat ventilation box is easier to hide behind a false ceiling.
Material
Ventilation boxes are made of:
- steel (stainless or black galvanized);
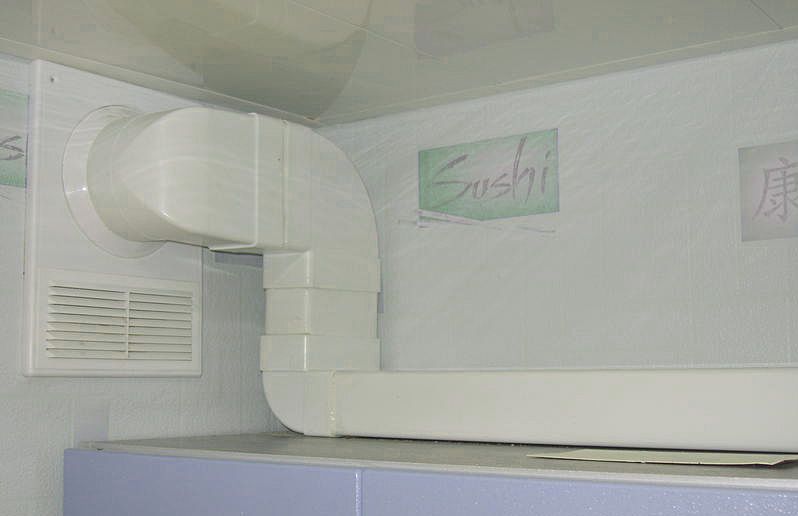
- plastic.
With your own hands, a ventilation box in a garage or shed can be built from other available materials, for example, boards or drywall. But the structure must be airtight!
Plastic ventilation boxes do not deform over time, do not change color.
Other advantages of plastic ventilation ducts:
- easy to mount;
- inexpensive;
- resistant to corrosion;
- if necessary, they can be additionally processed (for example, rolled);
- easy to select ready-made fittings.
The main disadvantage of plastic ventilation ducts is flammability. Therefore, they are installed mainly in household premises, where contact with hot air or steam is excluded.
Ventilation ducts are made of ABS plastic of various sizes, with round and rectangular sections.
Section dimensions:
- plastic: 11x5.5 cm, 12x6 cm, 20.4x6 cm;
- round diameter: 10 cm, 12.5 cm, 15 cm.
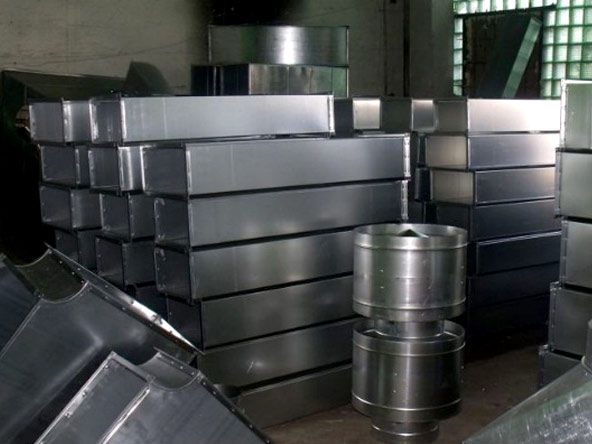
Steel ventilation ducts are made of stainless steel sheet or black galvanized steel.Galvanized ventilation ducts are installed in residential and industrial buildings. Galvanized ventilation ducts of standard sizes are produced, as well as made to order of very large diameters. Fittings are also made to order.
Pros:
- do not rust;
- easy to mount;
- easy to use;
- comply with sanitary standards, since microorganisms do not take root on a galvanized and stainless surface;
- any equipment can be mounted directly on the network.
A serious drawback of galvanized ventilation ducts is expensive fittings. Since they are usually made to order, their cost often exceeds the price of air ducts.
Fire protection of boxes
All large public and industrial buildings have smoke protection systems. They are a network of fireproof ventilation ducts separated by gates, valves and dampers. Through the channels, smoke is removed from the combustion sites outside the building, preventing it from spreading to nearby rooms. Fresh air from the street enters the room through paired air ducts. Fire-resistant air ducts and ducts are made only from sheet steel with a thickness of 0.8 mm.
Fire protection measures prevent the ventilation ducts from melting.
2 methods of fire protection of ventilation ducts are commonly used:
- Surface treatment of pipes with special water-based mastics (KRAUZ-vent) or paints;
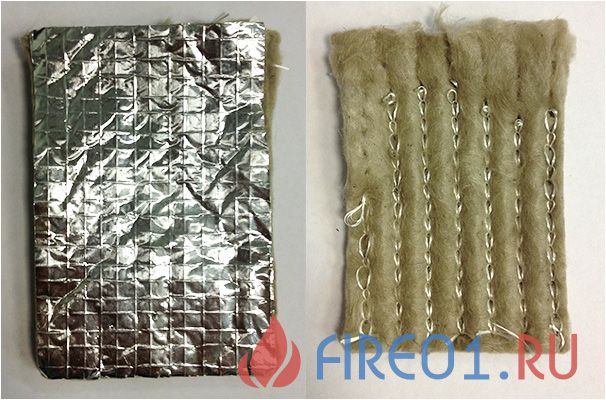
- Wrapping boxes with non-combustible materials made of basalt fiber (Tizol, SOSH) or mats (KRAUZMAT).
| Type of fire retardant material | Temper. installation. | Duration of operation | Will continue. protection | Consumption in gr. per sq. | Layer thickness |
| Water-based pastes and mastics | From +1 | At least 25 years old | 0.5 hour 1 hour | 1600 2260 | 1mm 1,4mm |
| Wrap mats and nonwovens | Irrelevant | At least 30 years old | 1,5 hour 3 hours | — — | 50 mm 70 mm |
Table 1. Comparative characteristics of different types of fire retardant materials
Noise insulation of ventilation ducts
Air currents move along steel or plastic ventilation ducts, causing aerodynamic noise. Corrugated air ducts and rattling metal ducts, parts of which may vibrate slightly, are considered especially "noisy". The less rigid and sealed the system, the more noise it will reproduce.
Causes of ventilation noise:
- lack of air ducts in the circuit;
- illiterate installation of air ducts;
- neglect of vibration isolation mechanisms;
- maximum speed of movement of streams.
Sometimes the noise is caused by improper system design.
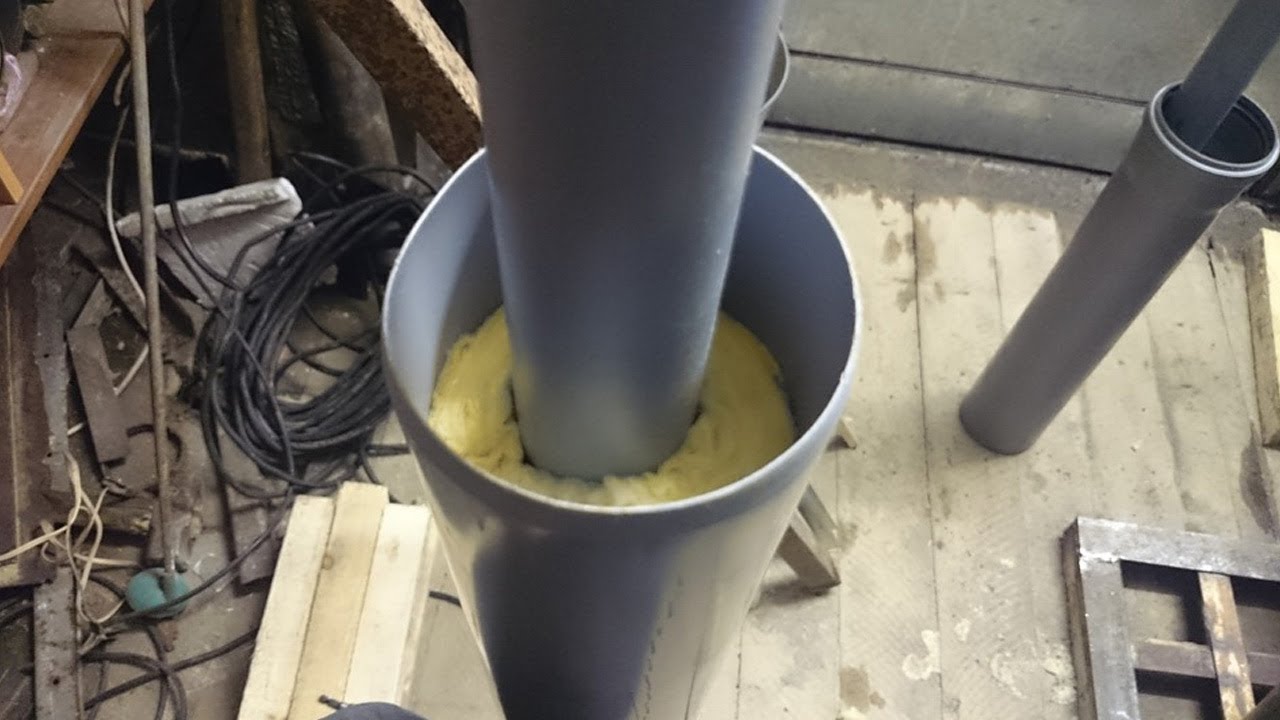
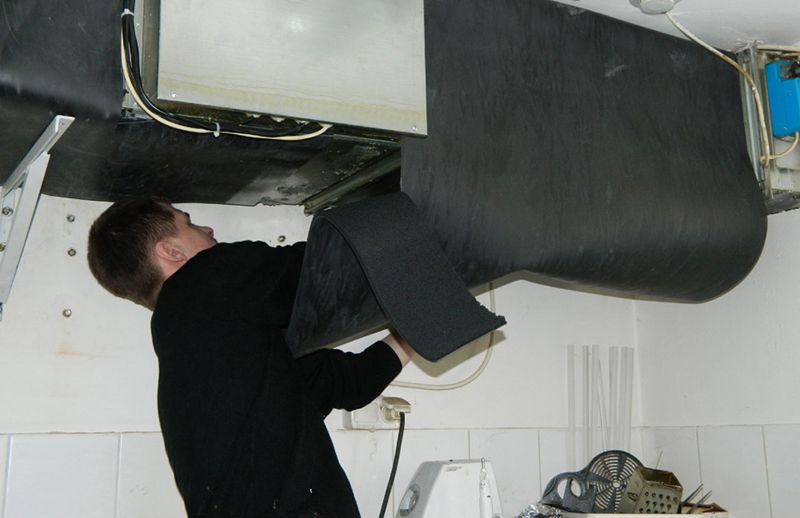
DIY materials for soundproofing the ventilation box:
- mineral wool and fiberglass slabs... Used to insulate air ducts;
- sound absorbing plates... Plates made of porous polymers or rubber are convenient for soundproofing ventilation ducts;
- organic fiber materials.
Ventilation ducts are most often soundproofed with multilayer sound-absorbing plates. They bend easily, for ease of installation they are treated with a sticky layer or self-adhesive film. Such material effectively absorbs the hum of low frequencies, the most harmful to human health.
DIY noise isolation
Tools and materials required for soundproofing the ventilation duct:
- sound-absorbing plates;
- acrylic adhesive, foamed. Purchased at the rate of 1 kg per 3.5 - 4 sq. m of surface;
- foamed polyethylene;
- knife;
- putty knife;
- brush.
Before sheathing the ventilation box, it is necessary to clean its surface from dust and dirt. Foamed polyethylene is glued to all turns, corners and transitions. The material is laid with a soft layer inward, and a reflective layer outward.
To enhance sound insulation, spacers are used. If the box is not insulated, the soundproofing should be overlapped, not glued.Do the same if the sound insulation is not self-adhesive. The joints of the canvases are glued with aluminum tape.
About ventilation ducts in the kitchen

Many owners of small apartments ask themselves the question: "Is it possible to demolish a ventilation duct that is inconveniently protruding from the wall?"
The answer to the question is unambiguous: dismantling of ventilation ducts is strictly prohibited!
Indeed, if you demolish the ventilation box, the kitchen area will increase by 0.5 square meters. meters. But self-demolition of the box will entail unpleasant consequences:
- The shaft is a pyramid of ventilation ducts stacked on top of each other. Dismantling any of them leaves the blocks located above with little or no support;
- If the ventilation box is demolished, all residents of the lower floors can forget about air exchange in the kitchen and in the apartment in general.
Therefore, the Housing Inspectorate is very strict about common building communications and will require the restoration of the ventilation duct in the apartment.
About redevelopment of the box
Many attempts to dismantle the ventilation box with its subsequent redevelopment ended in failure. Insufficiently competent builders recommend demolishing the box during repairs and replacing it with a pipe structure that partially frees up space.
Why you can't do this:
- Household ventilation is a very delicate system, the air speed in it drops at the slightest obstacle. Therefore, the risers must be strictly vertical, without turns and protrusions. The dimensions of all sections of the ventilation duct must be the same;
- If there are not enough arguments, see item 1 of the previous paragraph.
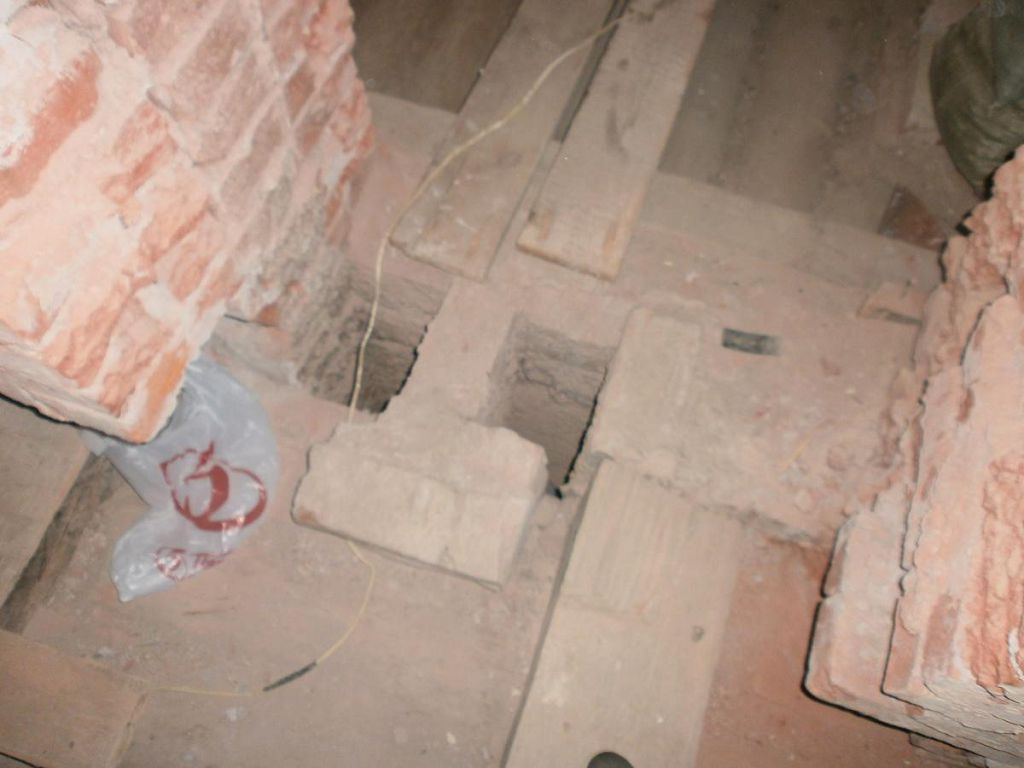
In some cases, residents of the first floors managed to obtain permission to demolish their section of the box. After all, no one lives below and the redevelopment will not harm other people. It is realistic to obtain permission for the dismantling of chimneys located in the walls of old brick houses. As a rule, communications have been inactive for a long time.
However, such work requires a permit!
Those who plan to purchase housing on the secondary market also need to know about this. Pay attention to any redevelopment and request all permits. For any independent redevelopment of communications and their enclosing structures, a fine of 2,500 rubles with the subsequent restoration of the ventilation duct in the apartment is threatened.
Therefore, architects recommend thinking about how to sheathe the ventilation duct in the kitchen, turning it into a useful or effective interior detail.
DIY ventilation ducts
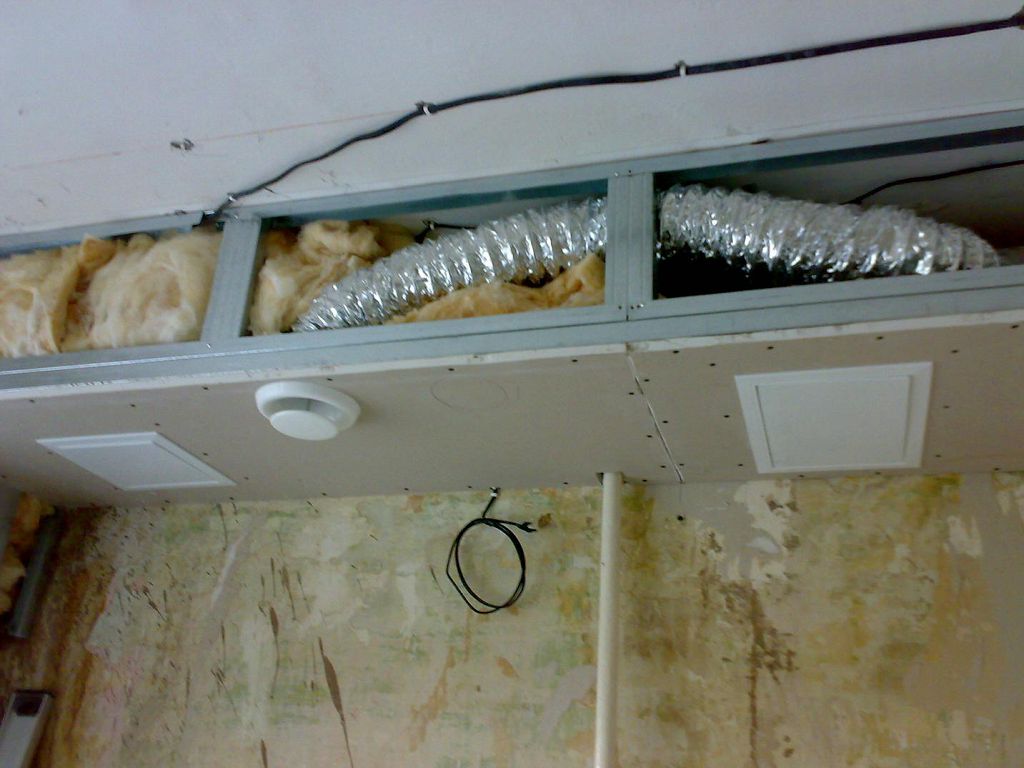
The simplest and most affordable version of a flat ventilation duct is plastic. But in some cases, plastic is not suitable. If it is necessary to restore the ventilation duct in the bathroom of the apartment and cover it with tiles, the thin plastic walls will not support the weight of the ceramics.
In this case, you can assemble a drywall ventilation box. Most experts recommend using a corrugation as an air duct, which is inserted into a plasterboard ventilation duct. Such a design will be airtight, which is essential for the availability of traction.
In order to make a plasterboard box for ventilation, you must:
- metal profiles for drywall;
- drywall;
- puncher;
- screwdriver (screwdriver);
- scissors for metal;
- special self-tapping screws;
- dowels for fixing the profile to the ceiling or walls.
Work progress:
- we make markings on the ceiling and wall, taking into account the thickness of the material.
- with dowels we attach a profile 2.7x2.8 along the perimeter of the future box.
- cut out vertical racks from the profile. Their length corresponds to the vertical dimension of the ventilation duct.
- we attach them to the perimeter.
- now we attach the lower perimeter of the box to the racks.
- We insert a corrugation inside the frame and attach it to the exit from the wall.
- Now we cut out parts of the appropriate size from a drywall sheet and fasten them to the profiles using self-tapping screws. The distance between the screws is 15 cm.
Level horizontals and verticals! Do not forget to insert a ventilation grill into the wall of the drywall box.
Of course, assembling such a structure is more difficult than using a ready-made plastic box for ventilation. Nevertheless, in the case of drywall, you will not have a problem: how to sheathe the ventilation duct. Paint will perfectly fit on drywall, you can glue tiles or apply decorative plaster.
A very detailed video instruction on how to assemble a drywall box: