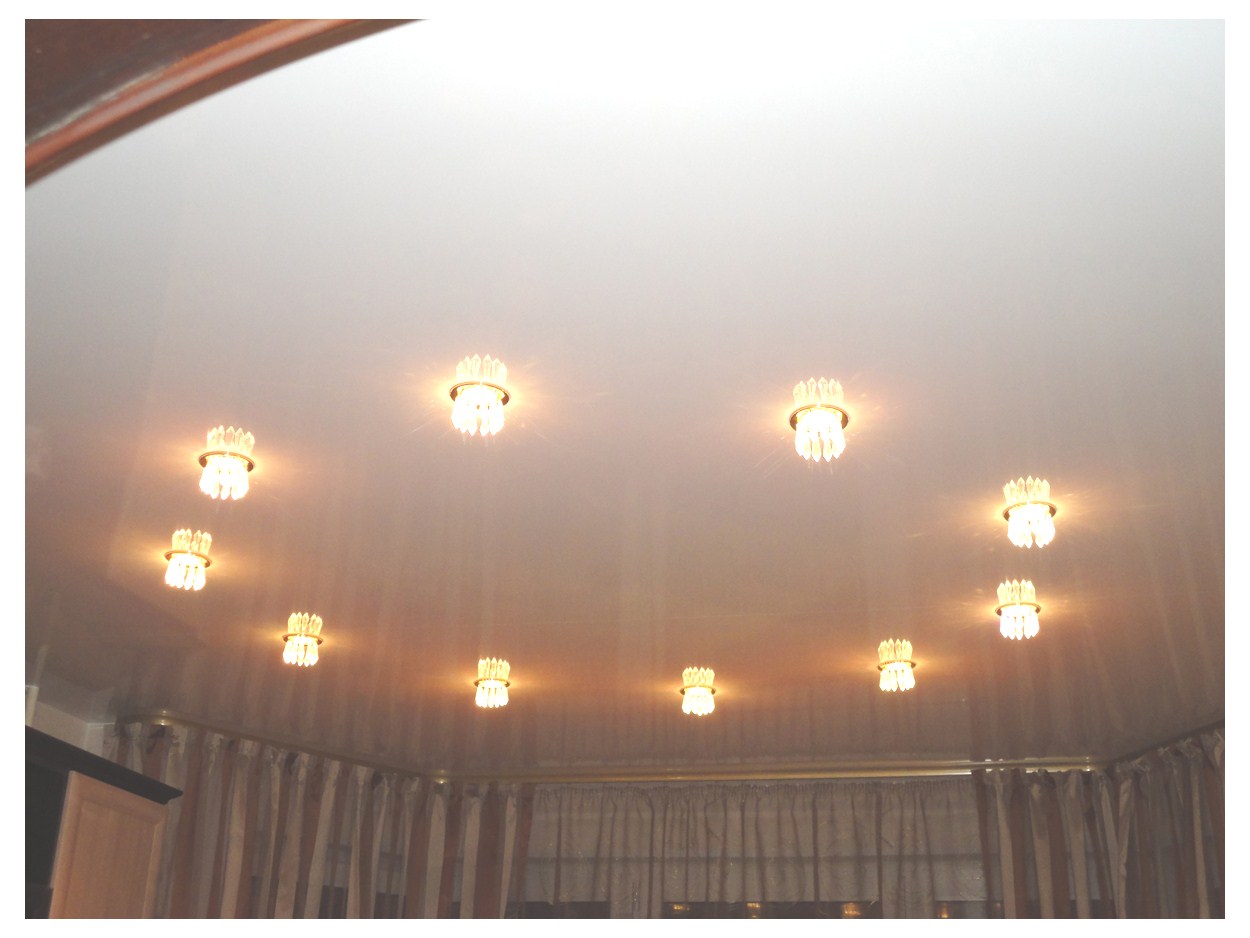
LED lamps are a luxurious lighting fixture and decoration for any interior. They often break down during their operation. This happens for various reasons: from violation of the rules of work, to the low quality of the product. Depending on the type of breakdown, LED chandeliers need to be repaired or replaced.
- Design and basics of functioning
- Why lamps fail
- Types of breakdowns and their causes
- Preparation for the repair of LED devices
- Visual inspection
- Lamp LED Circuit Check
- Remote Control Chandelier Repair
- Cooling radiators
- Replacing the LED strip in the lamp with your own hands
- How to unsolder the LED from the pad
- Driver circuits for LEDs from a 220v network
- LED Lamp Driver Repair
Design and basics of functioning
LED lamps are an electric arc ignited in a vacuum at the border of the pn junction. By exercising voltage control, it is possible to make regulation of the arc light. By design, the chandeliers include a fixing unit with a control unit, a radio receiver, a lighting segment, a remote control, and decor. In addition, music systems with speakers and ribbon illumination are often built into devices.
The fixing unit includes a bar with a cross, the control unit contains controllers with printed circuit boards and wires, and the lighting segment contains sockets for LEDs.
Why lamps fail
Most often, lamps stop working due to violations of the rules and recommendations for operating the device, overheating of equipment, partial or complete burnout of the diode, improper material compatibility (you cannot install LED lamps inside the stretch ceiling), high voltage surges and capacitor burnout, technical violations when connecting devices to the network ...
Also, breakdowns occur due to a short circuit, incorrect installation, errors in the construction of the electrical circuit and the poor quality of the product itself.
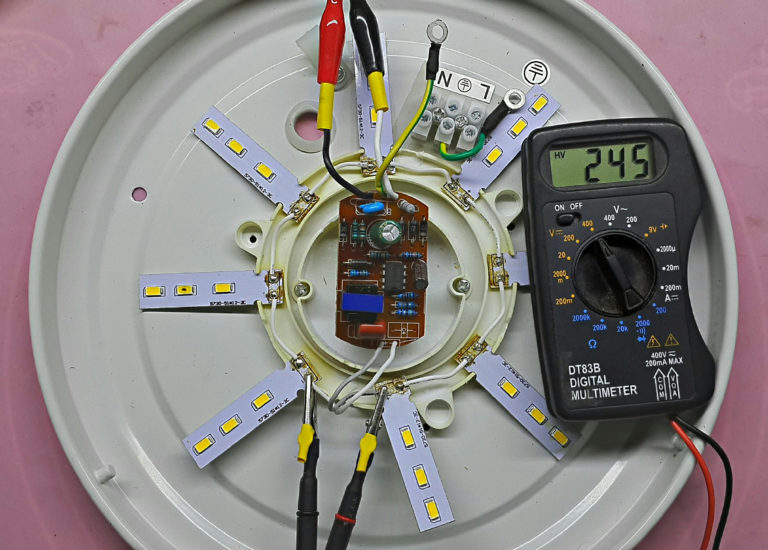
In order to assess and determine the degree of damage to the luminaire, you need to look at its structural parts visually. It is required to make sure that the board is in good working order before embedding it back, as well as that the rations are working, there is no carbon deposits with melting of the elements. If there are no deformations, you need to look for the cause of the malfunction using a tester and a multimeter.
Types of breakdowns and their causes
If a remote control does not respond on touching far / near and it's not at all about the batteries, the following causes of the malfunction are possible: breakdown of the remote control due to clogged contacts that need to be cleaned with alcohol; dysfunction of a low-quality Chinese device, requiring its complete replacement; poor operation of the relay of the device.
If a the remote control works on the third or fifth attempt, reacts to touch only near, which means that the matter is a bad relay that needs to be replaced, the LED loop is interrupted as a result of the lack of contact or its melting. Also, the reason may be a breakdown of the lamp control unit. Often, the repair of chandeliers with a remote control is limited to installing better quality batteries.
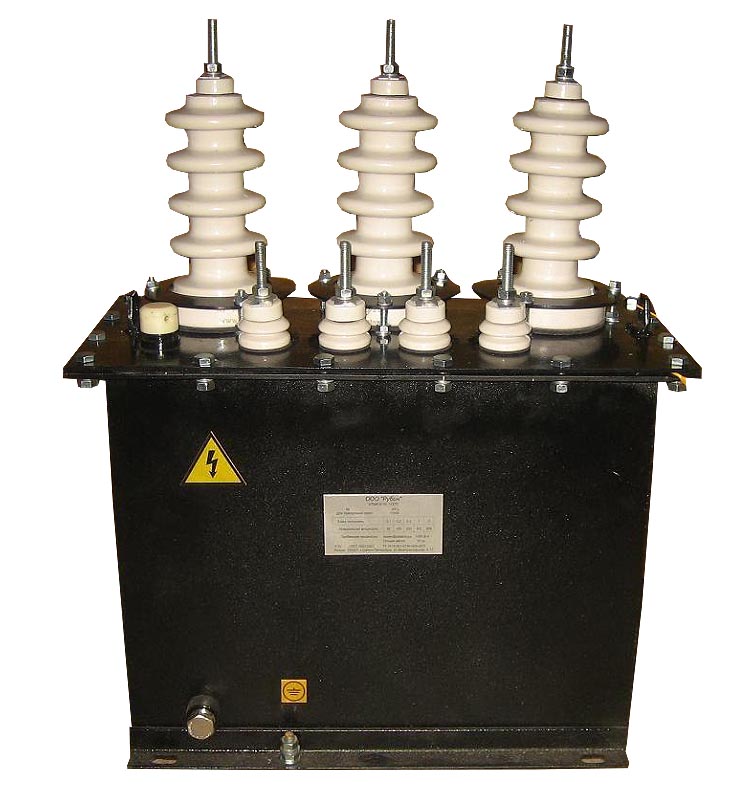
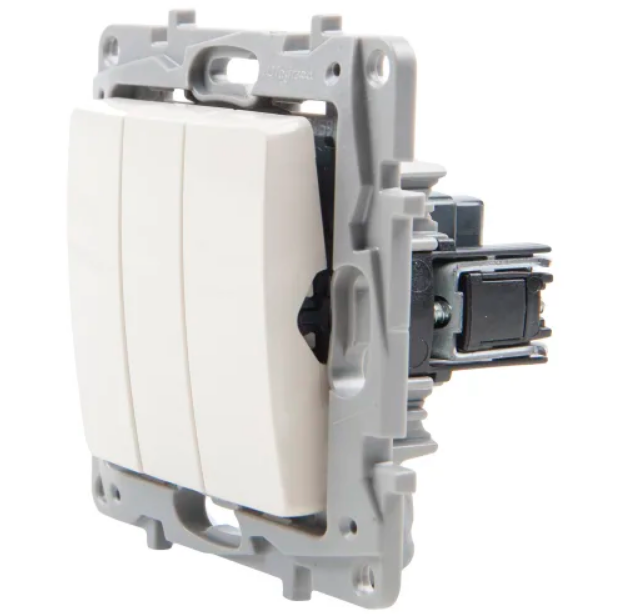
Fixed switch malfunctioning as a result of oxidation of wires, a malfunction of the transformer, an incorrectly selected electrical circuit, regular surges in the network, overheating and overvoltage.Often the cause of the phenomenon is a poor-quality switch and improper operation of the device.
LEDs with bulbs do not light up due to a failure or failure of the power supply, the LEDs and lamps themselves, burnout. Also, sometimes the problem is a network failure, high voltage, overheating of the device and low-quality lighting fixtures. In any of these cases, a complete replacement is required.
LED chandelier won't turn on due to poor connection, poor-quality wiring, which gave a failure at the level of the device itself or near the switch. Also, the problem lies in the lack of checking the operation of the lamp before buying - a factory defect is possible. Sometimes the reason lies in the malfunctioning of the remote control.
Preparation for the repair of LED devices
Preparing to repair an LED chandelier includes the following simple steps:
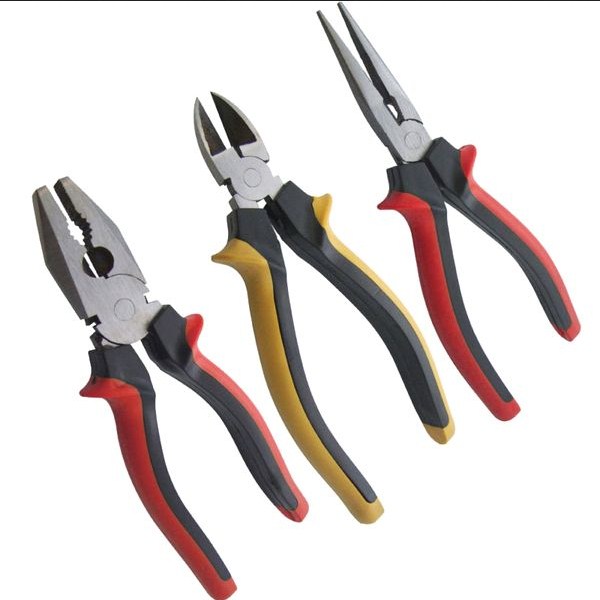
- Creation of electrical insulation for each instrument. It is strictly forbidden to use pliers or pliers with bare handles.
- Disconnecting the chandelier from the power supply and dismantling it with a screwdriver, pliers, knife and other handy tools.
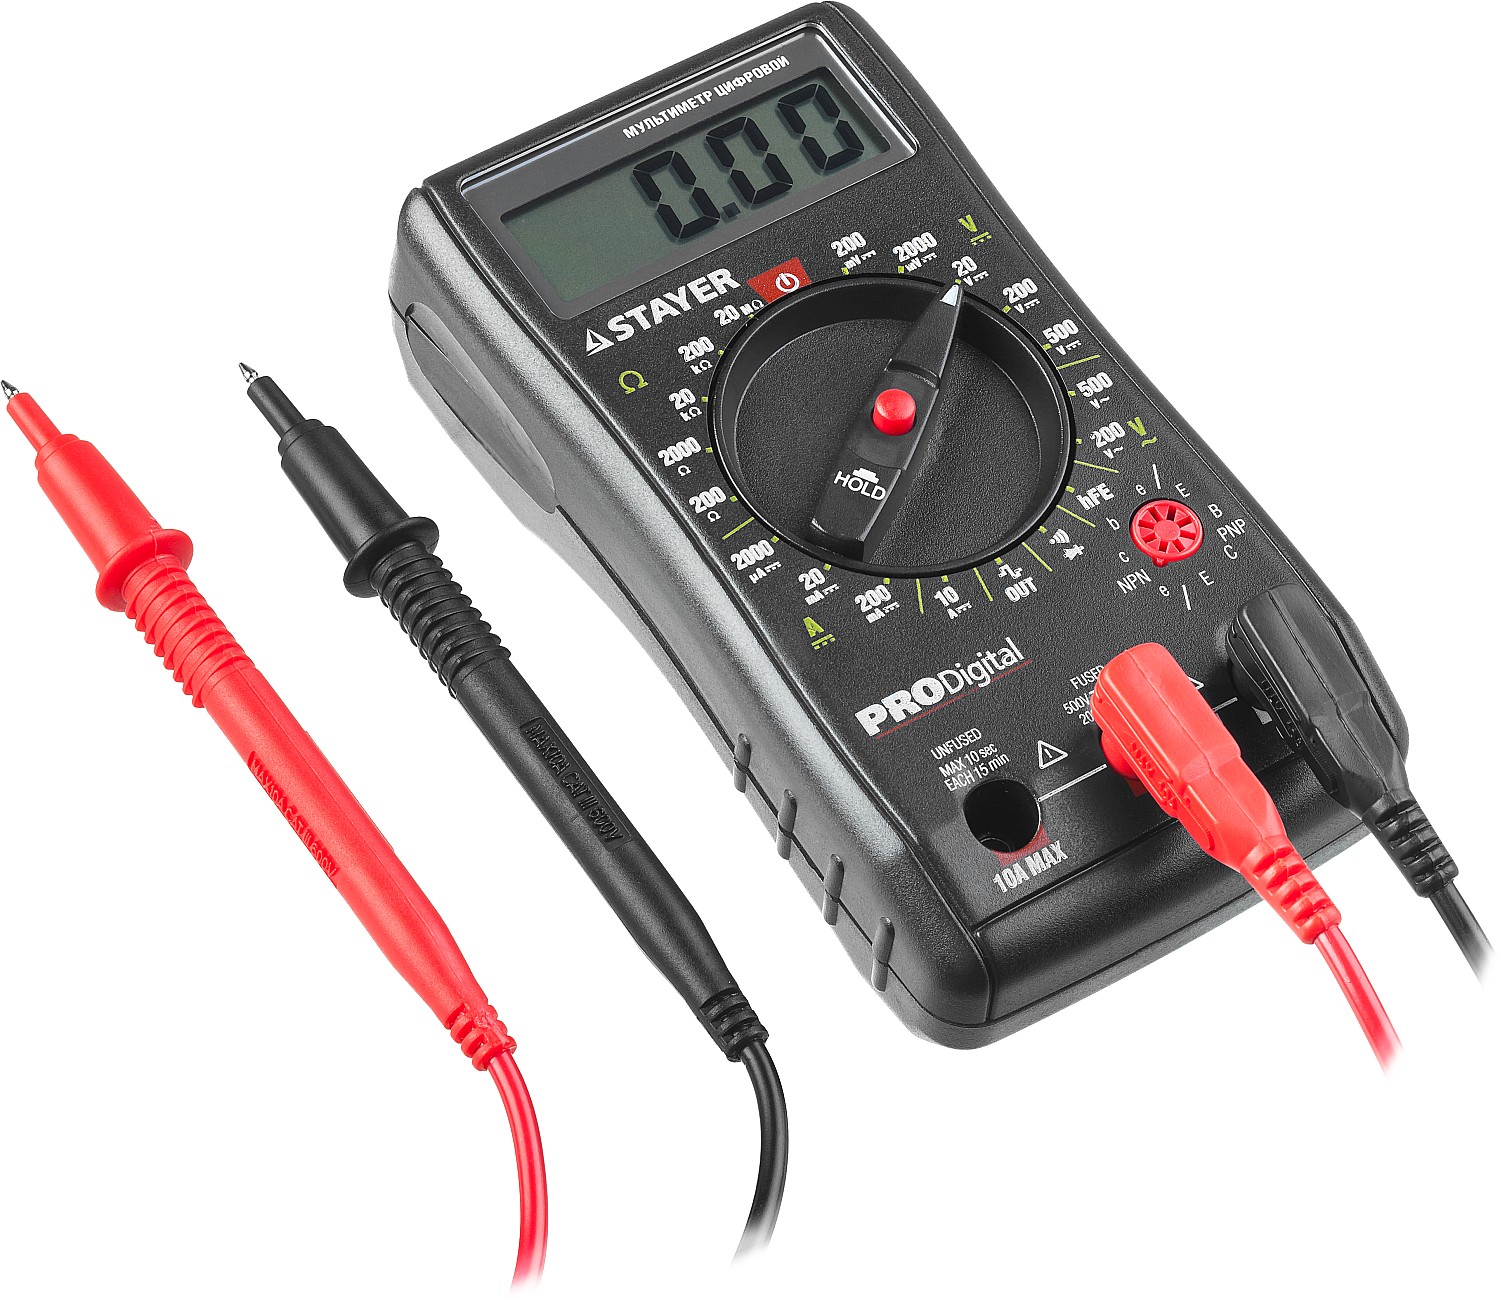
- Finding the problem by visual inspection and a multimeter.
When preparing to repair a chandelier with a control panel, it is also important to refer to the operating instructions for the device. This is important for the subsequent correct connection of the contacts and faster detection of the problem.
Visual inspection
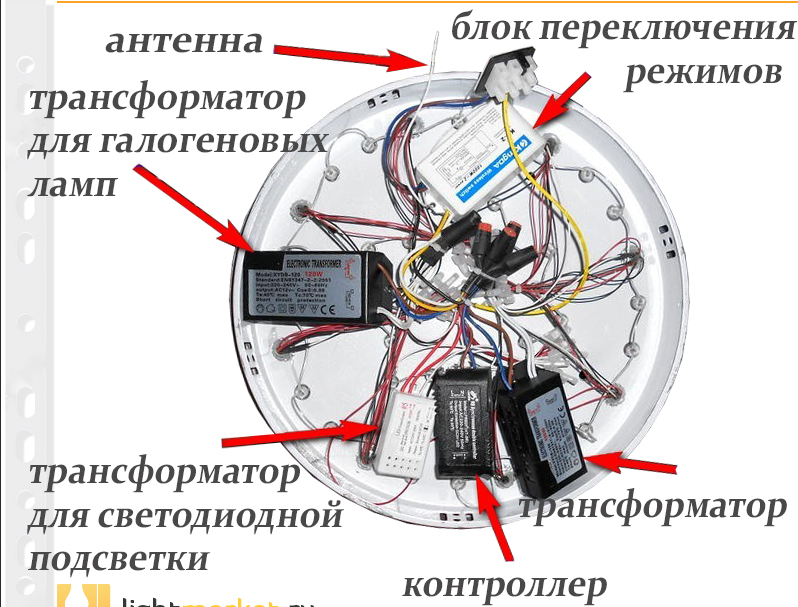
Carrying out a visual inspection before repairing a chandelier, it is important to understand its design and operating features. Complex lighting devices, for example, raster ones, contain drivers and lamps of different types, and some other varieties contain an antenna with several control units.
The sequence of repairing LED street lamps will directly depend on the design features of the product. Therefore, before inspection and repair, it is important to study the instructions for locating control units and subsequent repairs.
Lamp LED Circuit Check
To check the LED circuit of the lamp, you can take a jumper and alternately install it between the contacts of each diode with tweezers. In the absence of a jumper, you can connect the lamp to the network, take any wire and strip both ends of the tinned contacts. Then close the contacts of the burned out LED and observe the reaction. If the device does not light up, it is possible that several diodes have burned out.
If there are more than 10 diodes in the circuit, you can not replace the burned out element with a wire or a jumper to avoid overloading the coils and burning the lamps.
Remote Control Chandelier Repair
Malfunctions in an LED luminaire most often occur due to overheating of the matrix. It is easy to repair: you need to remove and disassemble the lamp, finding out the cause of the breakdown. Then you need to find the burned out diodes and replace the components. If it is necessary to perform soldering, it is worth studying the device diagram. The cause of the combustion can be in the controller, antenna or control unit. Then the product needs to be replaced.
Cooling radiators
Most luminaires contain cooling radiators. This is a sign that the device is of good quality. It has a place to dissipate heat from the radiator. However, you need to periodically replace the thermal grease, otherwise, over time, the radiator will stop working and the board with the block will burn out. In this case, you will have to change the chandelier.
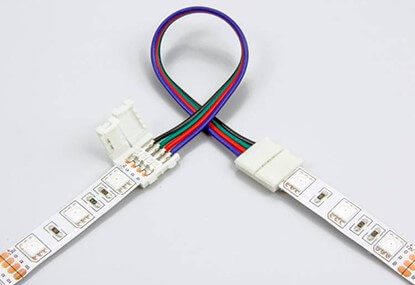
Replacing the LED strip in the lamp with your own hands
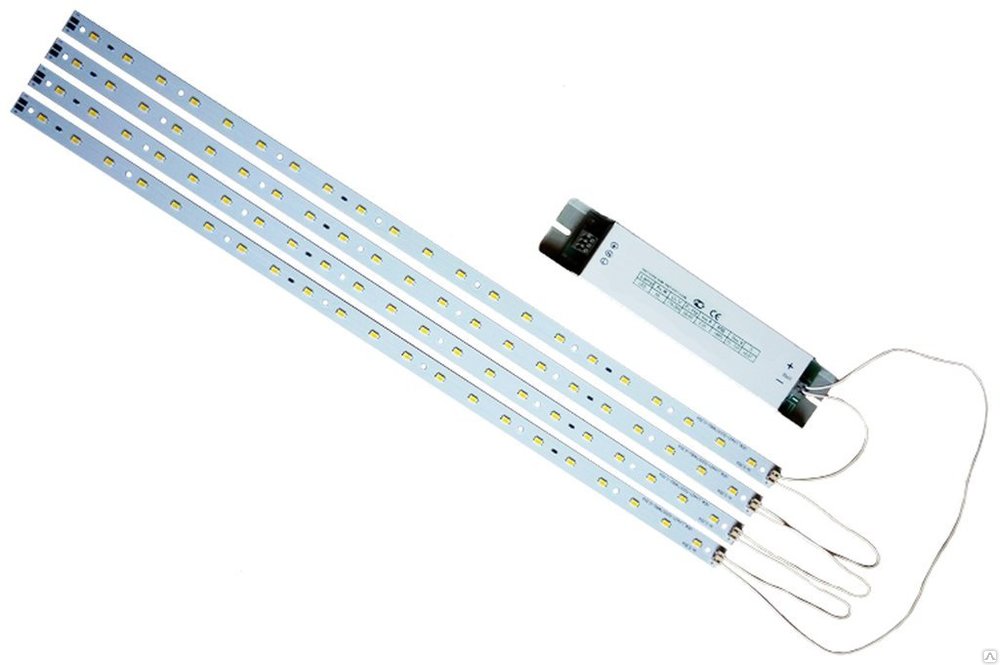
Replacing the LED strip with your own hands in the house is not difficult. It is important to know how it works, to study the instructions and the scheme of its work. It is also required to have minimum knowledge and skills in electrical engineering. Training videos are the best for this.
Typically, you can replace the tape by following these steps:
- Remove and disassemble the lamp.
- Inspect the inside of the structure for defects.
- Replace damaged elements or solder broken contacts.
Additionally, in order to repair and repair the device, it may be necessary to tighten all the screws and repack the terminal blocks.
After repair, you need to check the operation of the device and its contacts. It is important not to overload the capacitor and not to repair the equipment if there are more than 10 LEDs.
How to unsolder the LED from the pad
To unsolder the LED from the pad, you need to take a hot tweezers, a shaving blade and a soldering station. First you need to attach the LED strip to the table. Double-sided tape is suitable for this. Then follow these steps:
- Preheat the soldering iron and prepare the blade half.
- Begin melting tin on either pin of the LED by sliding the blade between the pin and the print pad.
- Carefully free up the soldering space for the heat-dissipating substrate, without touching the body with the tip of the soldering iron.
- Cut off the tin and check the result by ringing all the tracks with a tester.
It is important to prevent damage to the track due to the loss of the topology of the pattern and possible damage to the entire product. You can also cut without heating the soldering iron.
Driver circuits for LEDs from a 220v network
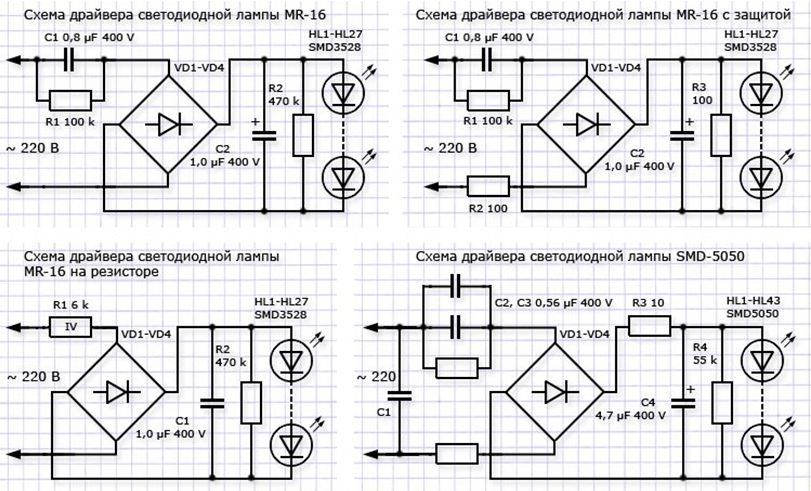
In the second scheme, the current through the resistor includes the values of L, VD, LED, N. The current passes half as much, which means that four times less power is released. However, this circuit will need a reverse voltage diode, for example, 1N4007 (KD258).
LED Lamp Driver Repair
If the driver contains small SMD components, for repair you need to take a soldering iron and copper wire, and then identify the burned out diode and evaporate it according to the electrical circuit. If there is no damage, remove all the elements and ring the tester. After removing the unusable element, mount a new one.
Typical malfunctions of LED luminaires are problems with device components, overvoltage, overheating, improper operation and installation. It is not difficult to repair. The procedure consists in performing a visual inspection, finding the cause and eliminating it using the appropriate instructions.


The article is superficial. For example, when it comes to remote control, we need to talk about the control panel, not the LEDs .. Will it fit from another, the problem that I am now solving. Since the DP block can be used for other purposes as well.