Panel houses are old buildings. The communication systems in them are already outdated, so they need to be changed. Old electrical wiring is made of aluminum wires, which is unacceptable according to modern standards. Their service life is limited to 20 years, after which the wiring may catch fire. According to the new requirements, the house must have copper wiring. You should figure out how to replace old wiring in a panel house.
Features of electrical wiring in a panel house
Panel houses are economy class buildings that were built quickly and using inexpensive materials. Floors, walls, ceilings were made of metal reinforcement with poured concrete. Each wall is load-bearing, so redevelopment is impossible. Now buildings of this type are not being erected, they prefer brick ones.
The electrical wiring in the panel house was laid in special channels. They were made in a factory inside reinforced concrete slabs. It is impossible to move communications to a more convenient place. There is another option for laying wires - between the ceiling and wall plates. When replacing the wiring, you need to pay attention to the way the wiring is laid.
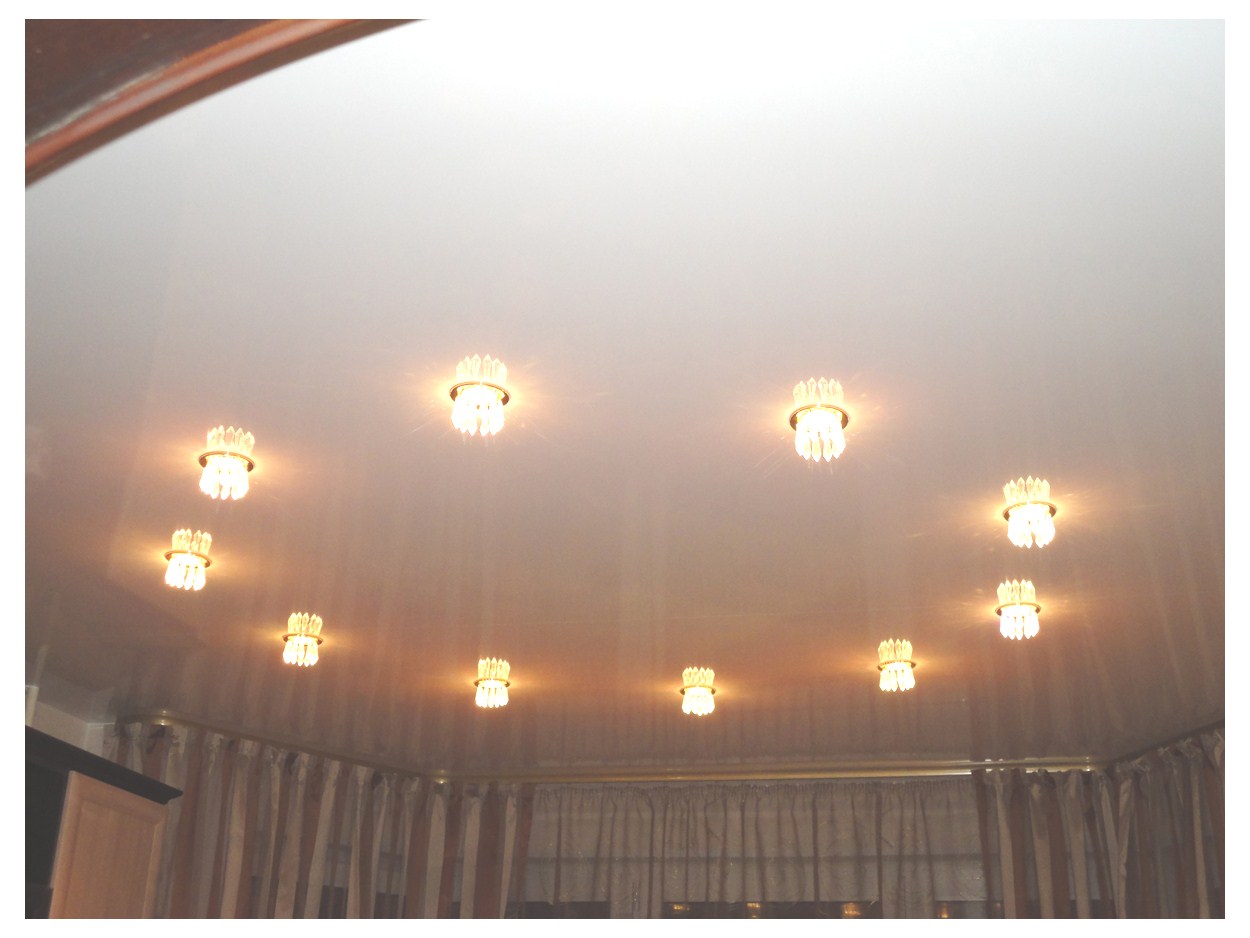
Conductors for chandeliers in a panel house are laid through special channels in the ceiling or between the ceiling panel and the wall. It is important to take into account that even within the same house on different floors, the wiring can be laid in different ways. It is impossible to rely on full compliance with the installation requirements, even simple rules could be violated during construction and repair.
Reasons for replacement
It is necessary to change the old electrical wiring in the following cases:
- physical wear and tear of aluminum wires;
- end of service life of cables;
- inability to withstand the stress of modern household appliances;
- with old wiring, grounding cannot be done;
- major repairs in the apartment, redevelopment.
Replacing all the wiring in the house is quite expensive. You can replace not only cables, but also old sockets and switches. But this must be done in order for the housing to be safe. You can save money if you change the cables yourself. But this must be done with certain skills and abilities in compliance with safety precautions. Otherwise, it is recommended to seek help from a specialist.
Wiring methods
Before changing the wiring, you need to draw up a new wiring diagram or change the old one in advance. You can perform both partial and complete replacement of electrical wiring in the house. In the diagram, it should be noted what load will be consumed in each room, how many sockets and switches will be installed, at what height.
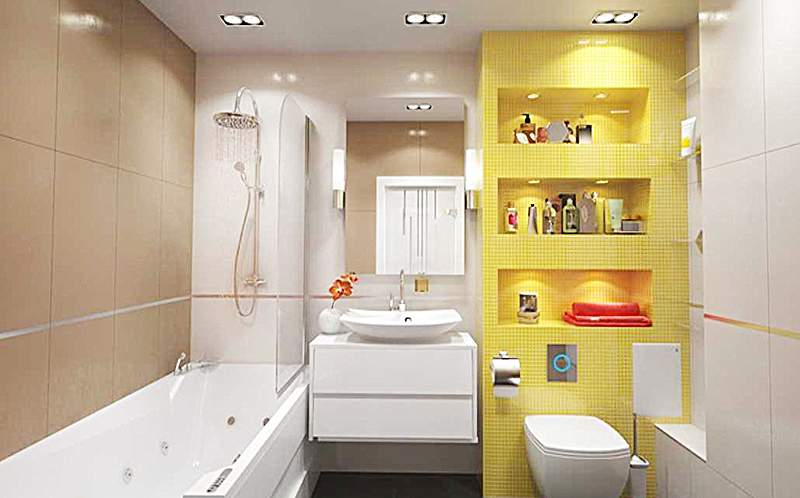
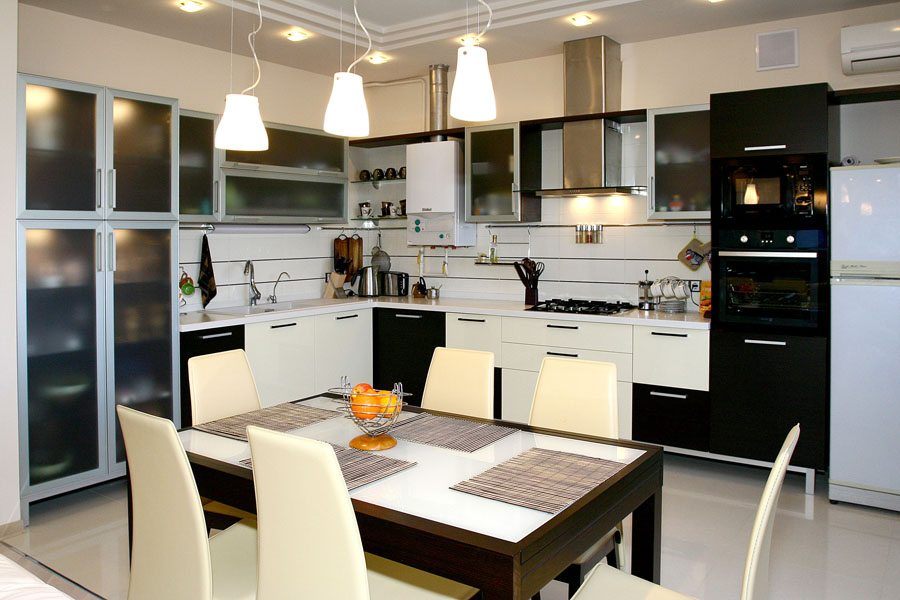
In the kitchen, you will need to install electric wires of a larger section and powerful sockets, since the main load is concentrated there. For rooms, two sockets of 5 sq.m. are enough. Particular attention should be paid to the bathroom, which has special climatic conditions. Sockets, if provided in the bathroom, must be connected via an RCD or differential machine. Also, the RCD should be carried out on powerful devices - a washing machine, a water heater, an electric stove, a dishwasher.
The cheapest way to run electrical wiring is to place the wires along the surface of the walls. The cables are secured with clips, clamps or staples. Then a layer of plaster is applied on top. The disadvantage of this method is that an additional budget is required for plastering surfaces.
If you make a concrete screed, you can also lay the cables on the floor. They are placed in corrugated pipes, placed on the floor and poured with concrete. Similarly, you can place wiring on the ceiling. The disadvantage is the impossibility of installing the outlet on the floor and ceiling, which will require additional gouging of the surface of the walls.
You can make open wiring. Then the cables are placed in plastic ducts, PVC pipes or corrugations and installed on the walls. It is possible to lay electrical wiring in an open way even after the repair is completed. A prerequisite is the vertical or horizontal arrangement of the lines. It is recommended to mark in advance with a pencil on the wall where the lines will be laid. Minus - unaesthetic look.
Cables must pass through the old channels, then additional wall chasing is not required. To carry out repair work, the master must have a professional tool.
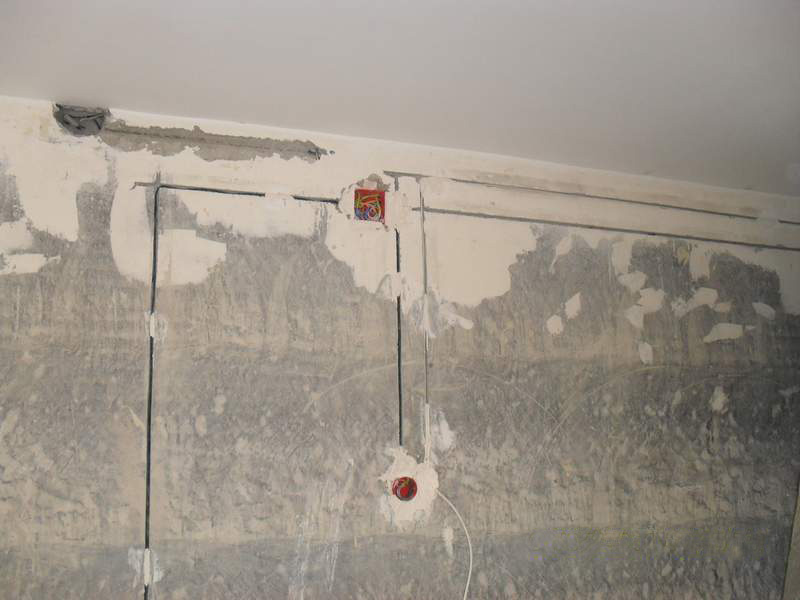
Slab chipping
The walls in panel houses are load-bearing, so their integrity cannot be violated. But such a prohibition applies to horizontal strobes, vertical ones can be done. But you need to take into account the limitations - the grooves should not be deep (more than 10 mm) and metal reinforcement should not be disturbed. Slitting should be carried out only along straight lines without slopes and zigzags.
Channels should be located at a distance of more than 40 cm from the gas supply and water supply systems. The distance from door and window openings should be more than 15 cm.
Of the materials, you will need a grinder with a diamond disc or a wall chaser.
Step-by-step instructions for replacing
After considering the main ways of laying electrical wiring, you should go to the replacement rules. Step-by-step instructions on how to change the wiring in a panel house:
- Disconnect the electricity supply. You need to make sure with a multimeter that no voltage is supplied to the apartment. You will need one temporary socket for your drill, hammer drill and other tool. It is better if the necessary devices are battery operated. You also need to take care of alternative stand-alone light sources in advance.
- Dismantling of fittings. It is necessary to remove all interfering equipment and furniture from the walls and get convenient access to all sockets, junction boxes, switches. All sockets and switches must be removed, only electrical wires should be left for connecting new products. Then you need to disconnect the wires in the junction box.
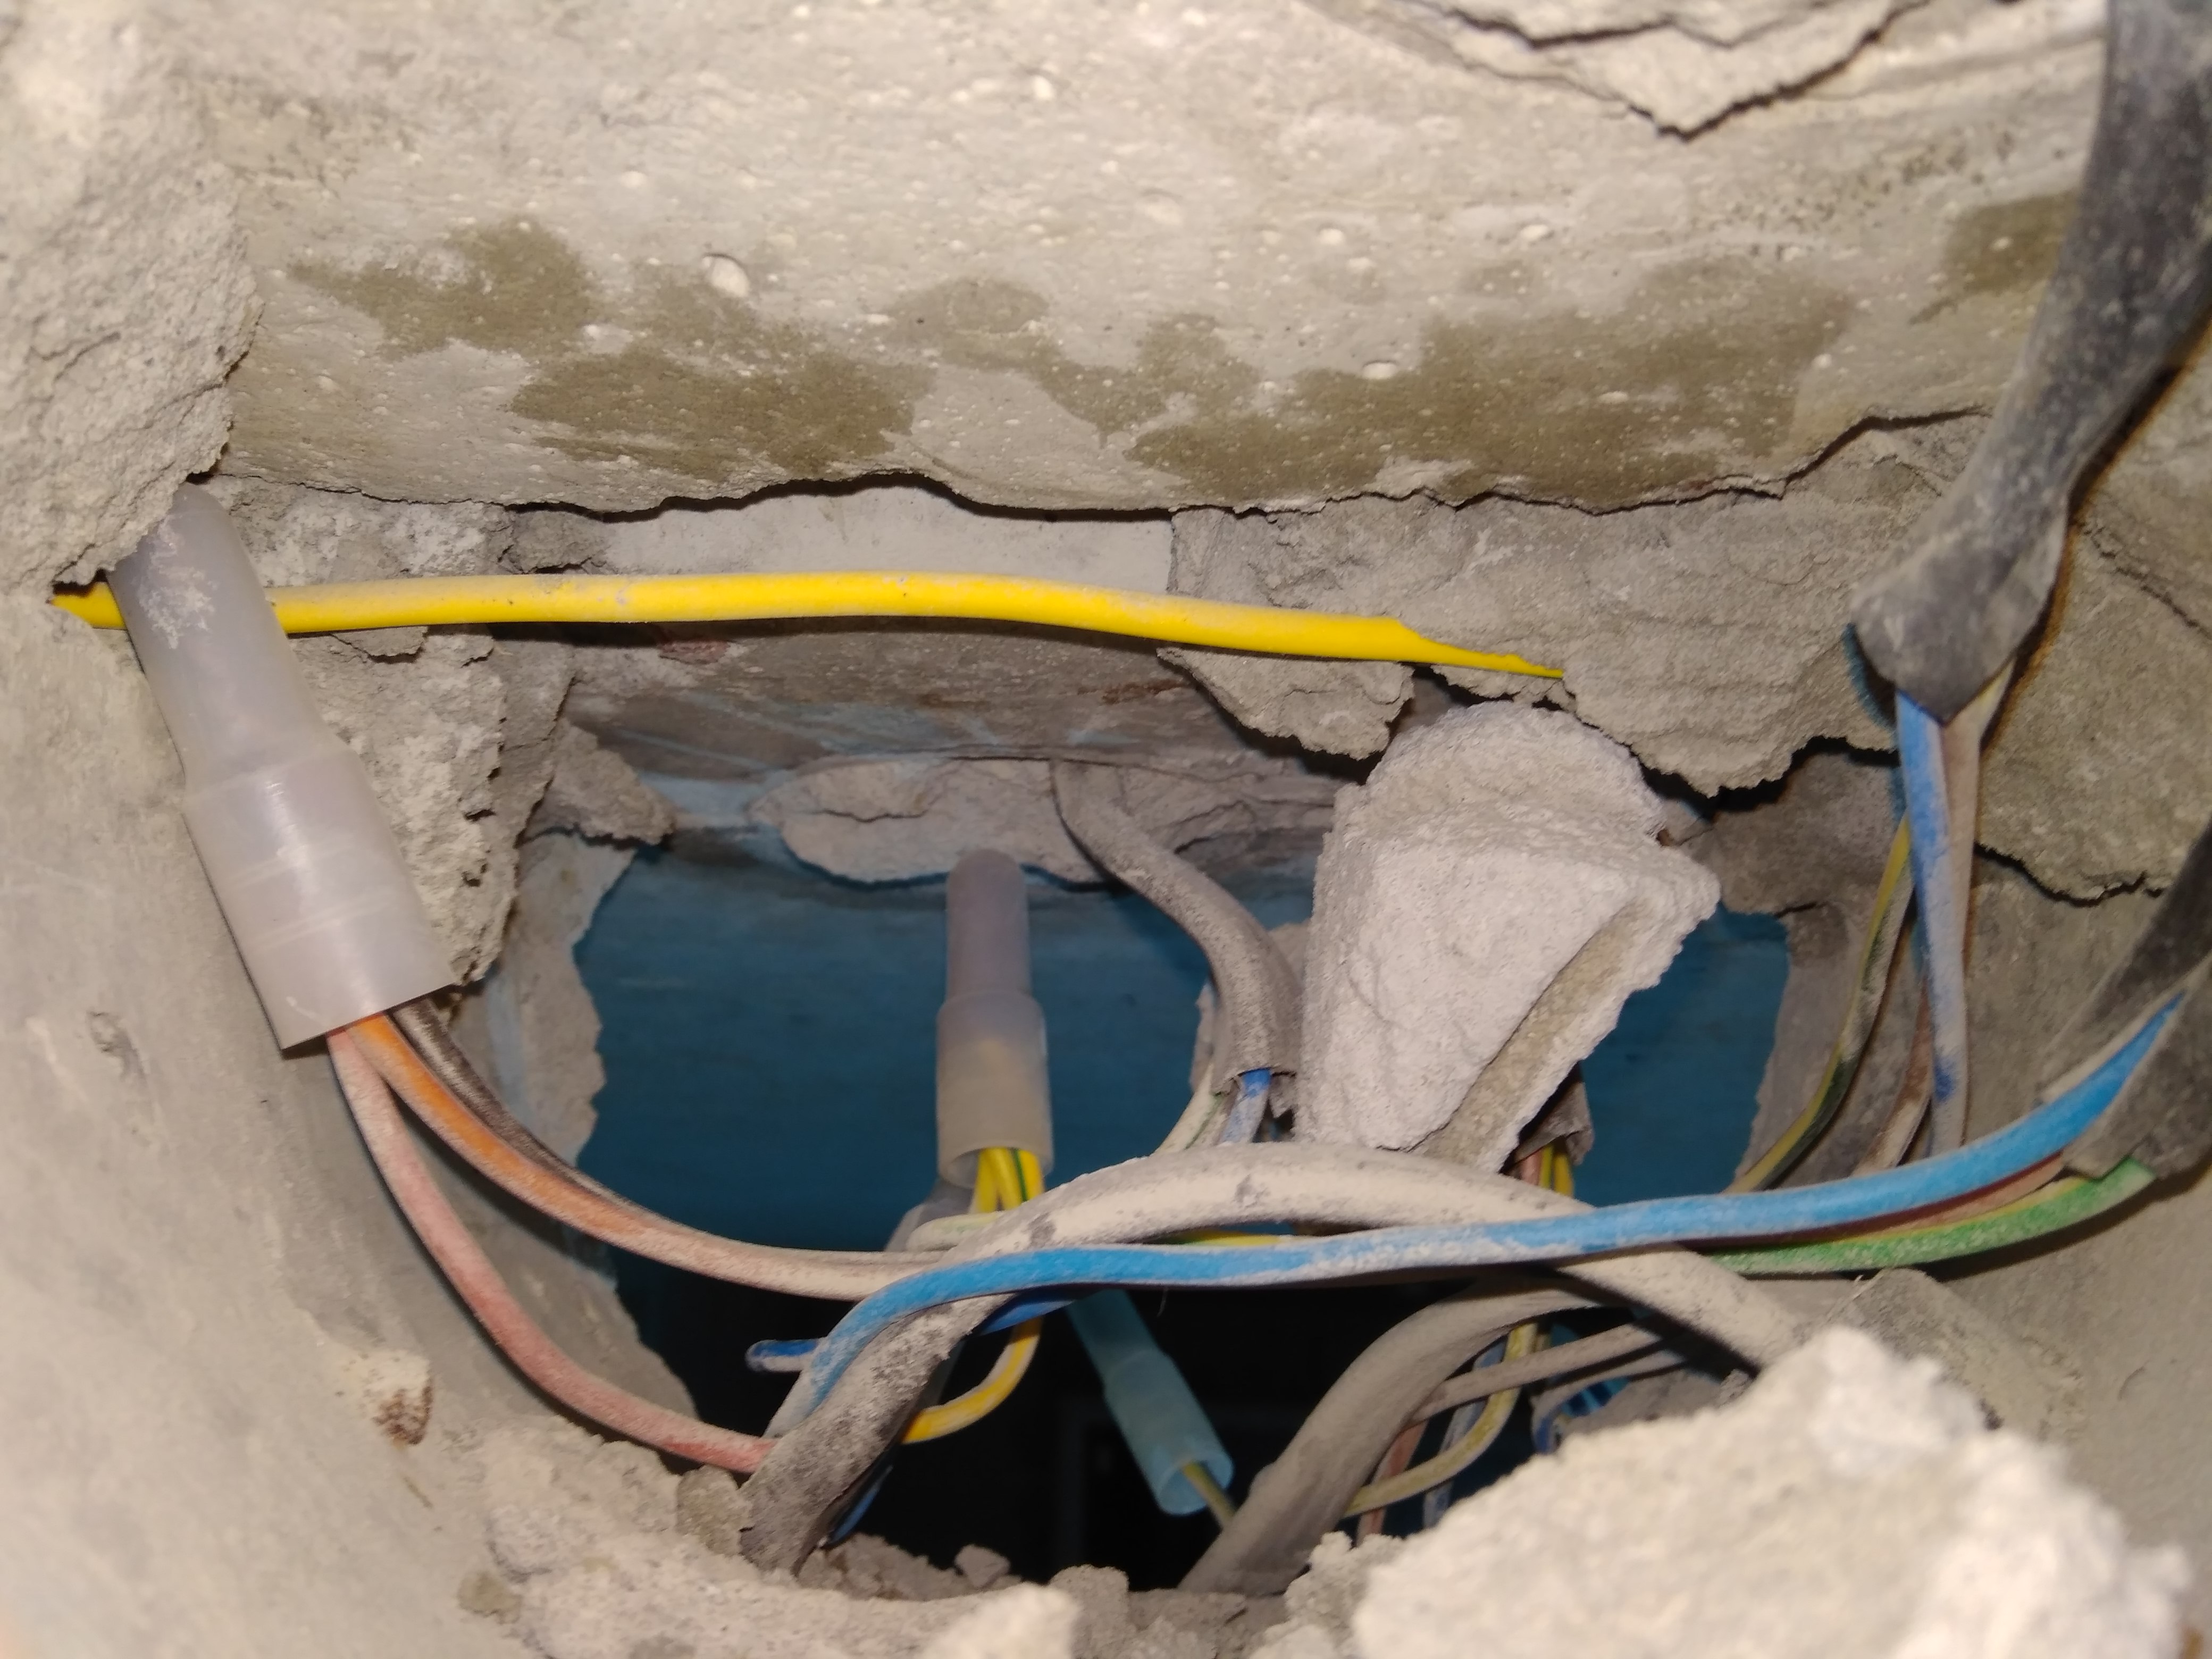
- Dismantling the wiring. In some cases it is not possible to remove old wires, then they can be left in the wall. Old cables must be disconnected from the shield, their ends must be insulated.
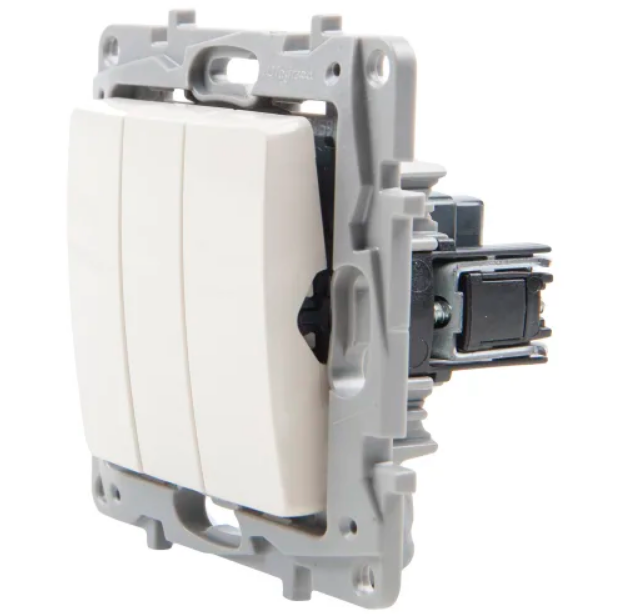
- Drawing up a wiring diagram and choosing a wiring method. You need to immediately purchase all the necessary cables, sockets and other items. According to modern requirements, socket and lighting groups use copper electric wires with a cross section of 2.5 sq.mm and 1.5 sq.mm, respectively. When buying outlets, it is recommended to take the old version with you to the store, otherwise you can buy a model with an unsuitable socket outlet.
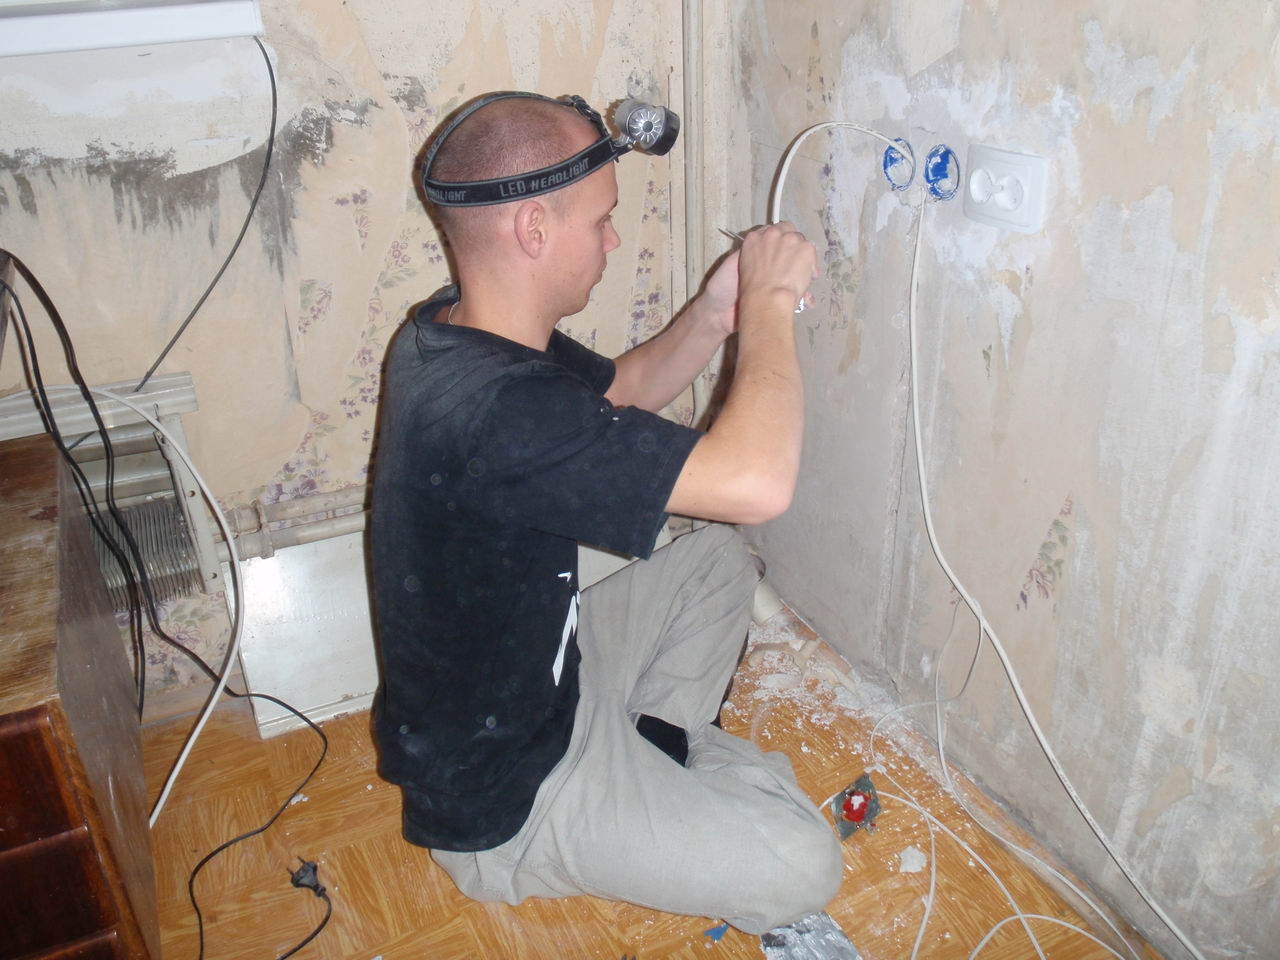
- Installation. It is necessary to put junction boxes, lay lines to powerful household appliances, sockets and switches. The shield should be assembled. Wires can be connected using terminals, crimping with sleeves, soldering, welding spring clips. Twisting is strictly prohibited.
- Checking. It is necessary to check all connections and wires for a short circuit using a tester in ohmmeter mode. Insulation should be carefully inspected for possible breaches of integrity. If everything is in good condition, you can start finishing.
You can call an electrician to check the wiring.For a small amount of money, he will test the assembled system, and then the residents of the house will be confident in the safety of the apartment.
Mounting holes for sockets
If the drawn up scheme provides for the installation of new sockets, one more step of work will be required - drilling holes in the wall. To do this, you will need a pencil and a ruler, a perforator with an 8 mm drill, a crown bit, a spatula for removing concrete from a hole.
At the place where the socket will be installed, you need to draw a circle with the diameter of the socket with a pencil. In the center of the circle, you need to make a hole 50-60 cm deep. Using a crown, mark the contour of the hole and drill about 14 holes with a drill according to the outlined pattern. Now you can drill a hole to the full depth and knock out the rest of the concrete into the trowel. The holes for the junction boxes are made in the same way.