Cast iron and steel heating boilers enjoy well-deserved popularity due to their compactness and efficiency. However, they have a number of significant drawbacks in terms of safety and creating an uncomfortable indoor climate. If you impose a brick on a metal stove, you can reduce all technological disadvantages to a minimum and significantly improve the interior. It is necessary to competently treat the choice of material and the rules for its use.
Why coat the oven
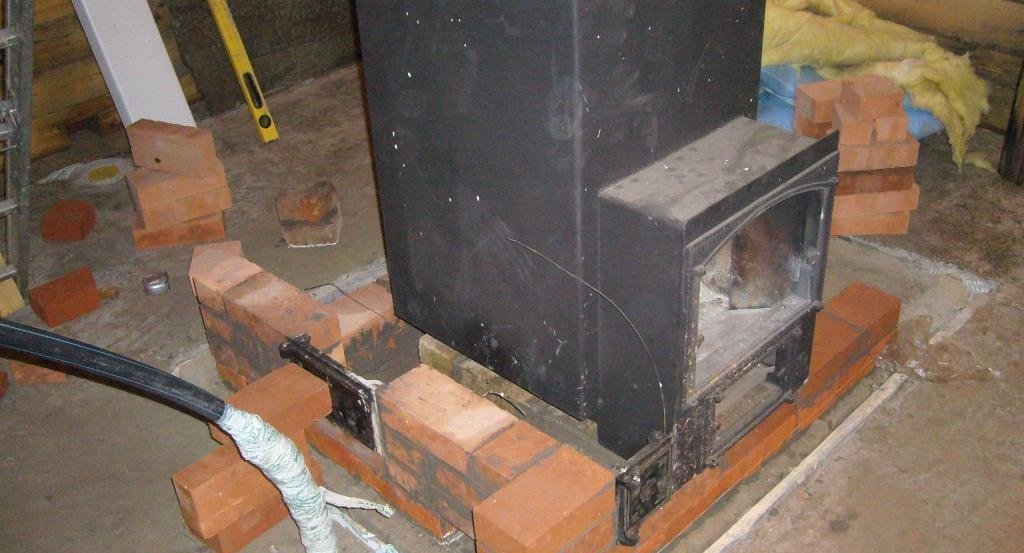
The decision to impose bricks on an iron stove is advisable only if the building is used on an ongoing basis. In the cold season, this design will not give the desired effect. Arriving at the dacha and flooding the hearth, the owners will wait for the desired heat only after a few hours, while with a metal hearth it will take several minutes.
In other cases, a brick lined oven almost completely eliminates the following phenomena:
- hard infrared radiation, harmful to health;
- dry air, impairing health;
- fire risk;
- the likelihood of getting a burn on a red-hot case.
Lining the walls of the boiler with bricks improves its heat capacity, promotes the formation of ventilation and has a positive effect on the presentability of the room. Using your imagination and putting your hands on, you can turn an ordinary heater into a real work of art.
The main criteria for choosing a brick for cladding
The rules for facing metal with bricks are spelled out in SNiP 21-01-97. "Fire safety of buildings and structures."
The document provides that steel boilers can be clad with the following types of material:
- silicate;
- hyper-pressed;
- ceramic;
- clinker;
- refractory.
Brick for lining a cast iron stove must have the following properties:
- preservation of characteristics at strong heating;
- immunity to temperature changes;
- resistance to moisture, fungus and mold;
- long-term preservation of the obtained heat;
- mechanical strength;
- long service life;
- frost resistance;
- high heat capacity.
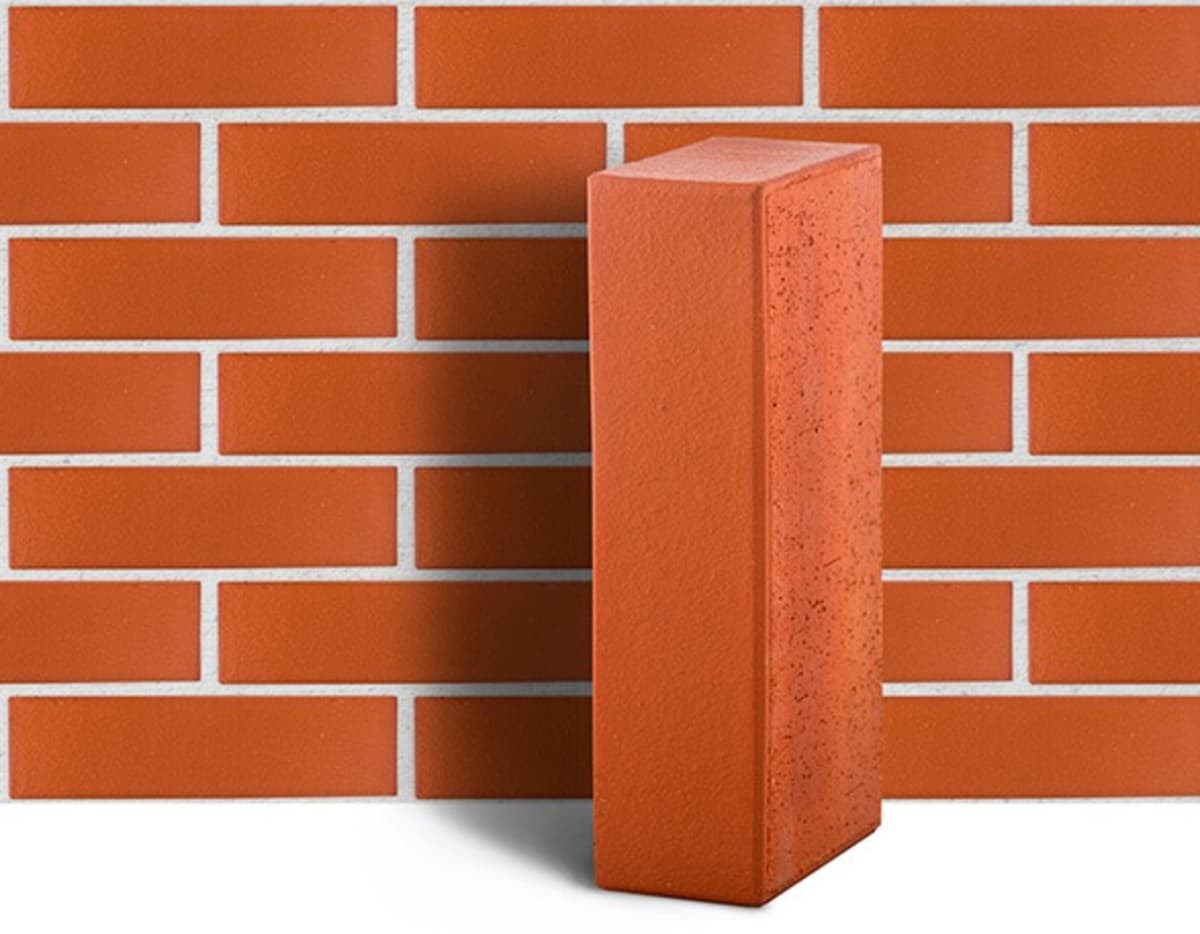
The best options are red and yellow fireclay. When buying, you need to pay attention to the characteristics declared by the manufacturer and the actual condition of the stones. They should not seriously differ from each other in size, shape, color. It is unacceptable to take goods that crumble at the corners and edges, have a pronounced heterogeneity, foreign and burnt inclusions.
Properties of mortar for laying brick ovens
The characteristics of the solution in the solidified state must correspond to the following parameters:
- frost resistance - F 50;
- moisture absorption - 7%;
- thermal conductivity - 0.48 W / (mk);
- voidness - 10%;
- refractoriness - 750 ° С.
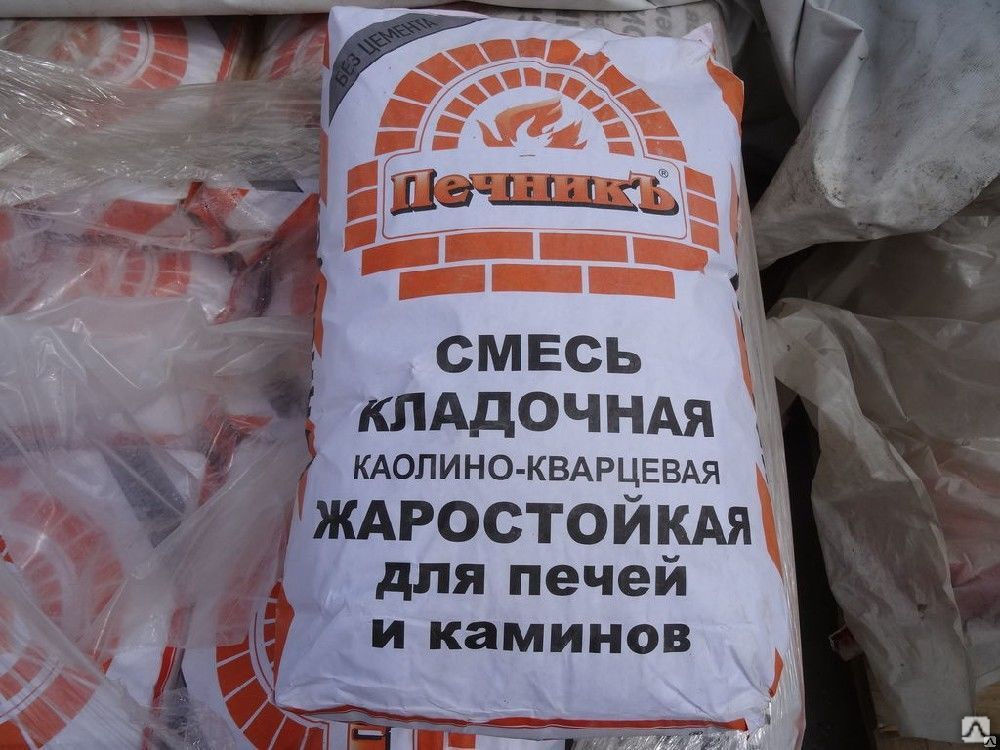
Alternatively, you can purchase a ready-made mixture, which contains several components that provide these parameters.It will be expensive, but quality will be guaranteed if you follow the manufacturer's instructions.
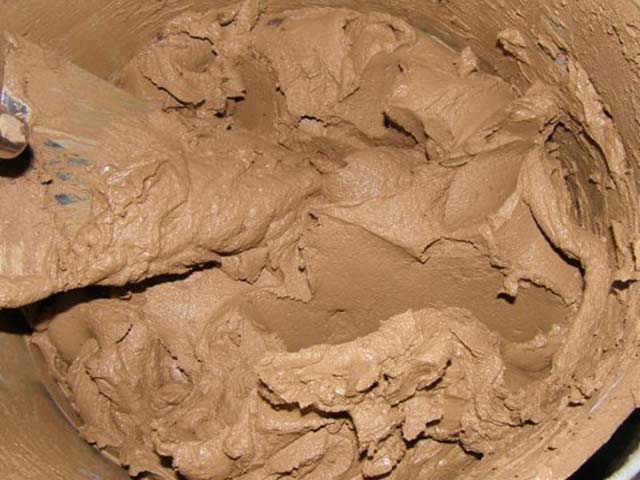
How to prepare masonry mortar
The following solution preparation technologies have proven themselves well:
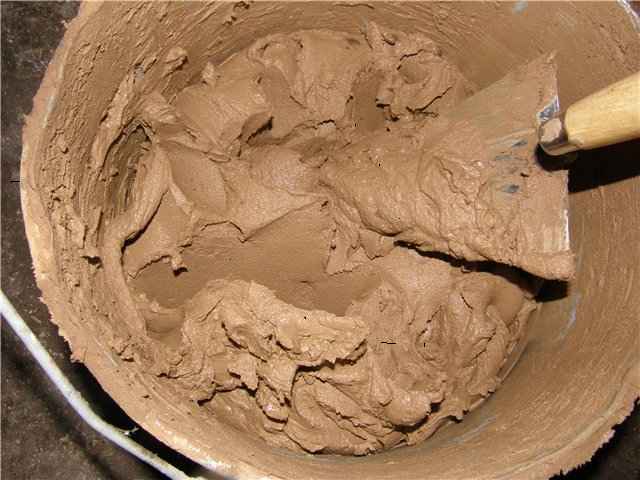
- Clay. A pottery mixture is used, which gains strength and tightness after the initial heating of the hearth.
- Clay-fireclay. The composition is kneaded from a mixture of chamotte clay and river sand in a ratio of 1: 3. Differs in strength and heat resistance.
- Lime. A slaked substance is used, to which a glue for porcelain stoneware is added for strength.
- Lime-cement. Stone dust complements the viscosity of the clay, and the addition of sand allows you to adjust the plasticity of the mortar used.
Each material has its pros and cons, properties are checked during operation.
Types of masonry
Depending on the location of the oven and its purpose, different methods of laying out the walls can be used. In all cases, they are laid out not close to each other, but near the boiler with a gap of 3-10 cm.
A brick screen can be configured like this:
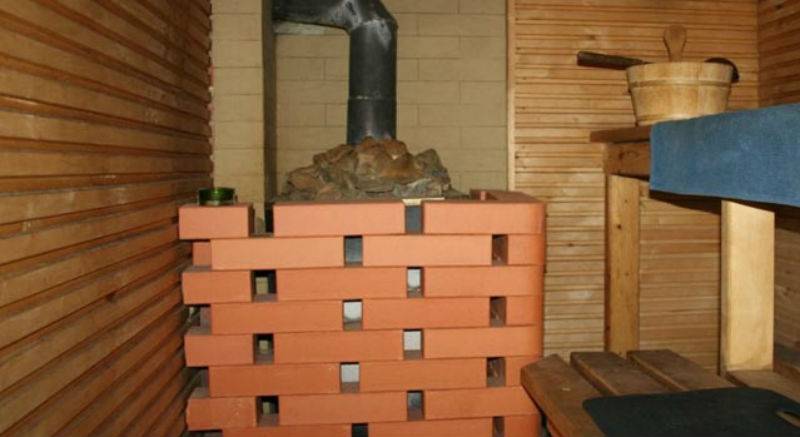
- Solid cladding. There are two approaches here. Either the masonry is initially made monolithic or gaps are left in it that slightly exceed the size of a standard block. After the completion of the work, bricks are inserted into these openings. When you need to quickly heat the steam room, the bricks are taken out, and the hot air from the stove disperses well throughout the room. As soon as the temperature rises to the desired level, the openings are closed again, and the heat transfer slows down.
- Facing in discharge. In the oven screen, half-stone openings are initially left (4 on each side). The lower holes are made on the second level, and the upper ones in the third row from the top level. This design ensures the occurrence of convection and high-quality air circulation throughout the room.
The top of the screen can be left open, covered with a brick slab, or the wall can be brought up to the ceiling.
Cladding stages
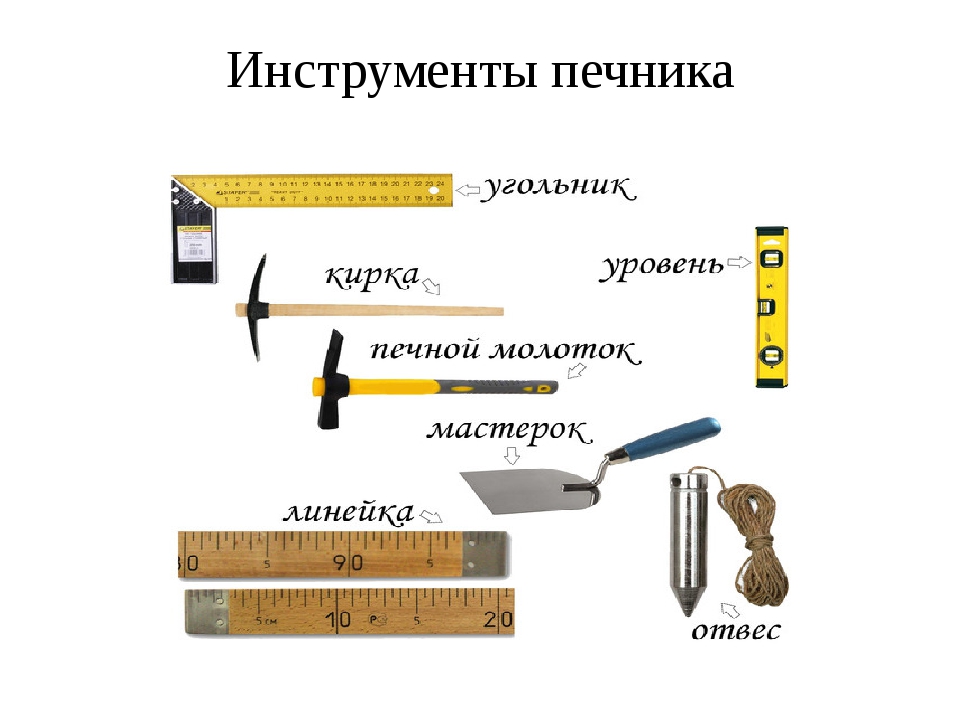
Next, you need to prepare the following tools:
- Master OK;
- level;
- mallet;
- roulette;
- trowel;
- grout for joints;
- Bulgarian.
If the installation of a separate foundation is required, you will need a shovel, a hacksaw and a hand drill to deepen below the freezing point of the soil. The slab is cast 20 cm wider than the dimensions of the future screen. Its thickness should be at least 10 cm, provided that it rests on buried piles.
If construction is carried out on top of a monolithic slab, the task is quite simple. A layer of waterproofing is laid on top of it, and on it a refractory material - asbestos cardboard, ceramic fiber or silicate.
Then the workplace should be prepared. The floors should be covered with cardboard or plywood, and the boiler should be wrapped in dense cellophane to protect it from contamination with mortar. It is necessary to provide good lighting and ventilation, prepare a stool and a stepladder.
Step-by-step process for erecting a screen for a hearth:
- Preparation of the solution. Here you need to take into account the speed of its hardening in order to have time to use it up.
- Laying bricks on the base. The stones are placed dry, they are adjusted to size, trimmed, and holes are tried on.
- A 1 cm thick mortar is applied to the base. Installation and alignment of the first row is in progress.
- Wall construction. Before placing them on the mortar, it is recommended to pre-soak so that the bricks do not take water from the mixture.
- Making a steel frame on the top row to fit a hot water tank or top shield made of stones.
Blocks are laid in a checkerboard pattern, excess mortar is immediately removed, grouting is done until it hardens. After firing the furnace, it can be revetted.
When installing on a wooden floor, it must be reinforced. The base is preliminarily inspected and checked for cracks and rot. If the distance between the lags exceeds 100 cm, you need to install additional beams, supporting them from below with brick posts. The boards must be at least 30 cm thick. If necessary, replace the old floorboards in whole or in part.
Quite often, the hearth is located in two adjacent rooms. In these cases, the marking and arrangement of the base is first done on both sides. Then a hole is cut out in the wall about 20-25 cm larger than the firebox on each side. The opening is leveled, cleaned of dirt and treated with an antiseptic. Then it is insulated with basalt cardboard, ceramics, aluminum foil or minerite sheets. After installing the boiler, the slots are sealed with clay, and the screen is erected according to the selected technology.


