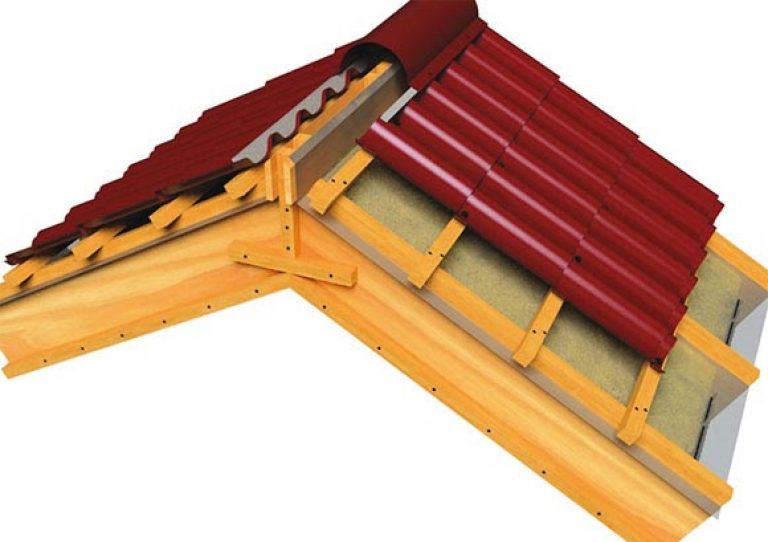
Metal shingles are one of the most popular roofing materials. The coating is distinguished by presentability, strength, durability and relative ease of installation. Most often it is used to equip gable and hipped roofs. A characteristic feature of such structures is the gap between adjacent floorings. Mounting the ridge on a metal tile allows you to eliminate this problem effectively and practically.
What is a roofing ridge and why is it needed
A roof ridge is a metal profile designed to cover the opening that remains between the upper edges of the slopes after the roof is covered with a topcoat.
Installing a ridge on a metal roof prevents the following factors:
- moisture penetration into the space under the roof;
- the penetration of debris and insects into the crevices;
- loss of heat accumulating in the attic;
- violation of proper ventilation;
- noise resulting from the formation of vortex flows.
Correct installation of the ridge strip makes the appearance of the roof harmonious and complete, preserves the healthy state of the wood of the rafter system, increasing its service life.
Varieties of skates

The modern industry produces a wide range of ridge profiles, which makes it easy to find a suitable model for hip gable and hip design.
Manufacturers offer products of the following configuration:
- Semicircular. They look great, and the aerodynamic configuration helps to effectively resist the strong gusts of the upper. Round models are more expensive than others, but investments are offset by their positive properties.
- Rectangular with a skirt. They are universal for all types of roofs, they combine strength and presentability.
- Triangular. The simplest and most inexpensive models. The angle can be adjusted, which allows the use of such profiles for installation on any roof configuration.
- Decorative. In order to make them more attractive, manufacturers apply grooves, protrusions and shelves to the profile, which do not improve, but do not worsen the functionality of the products.
When choosing ridge details, you need to give priority to models with a wide shelf and fringing around the edges. They are distinguished by higher strength and protective characteristics.
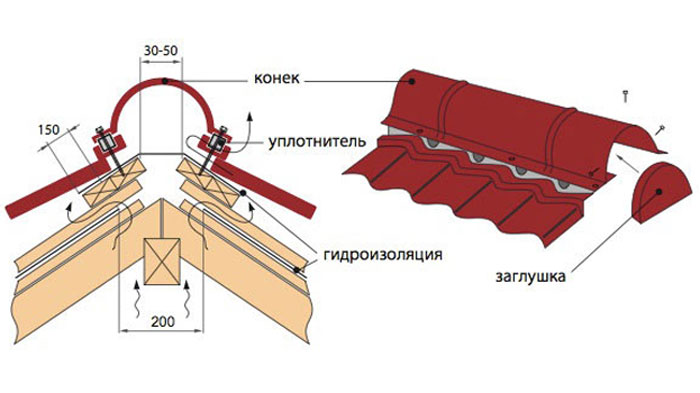
How to choose a sealant and seal
It is not recommended to leave the opening between the slopes open, as foreign objects will get into it through the gaps.
To prevent this, the following types of seals are used:
- Expanding. Polyurethane foam is blown into the groove, which solidifies after filling all the voids. The installation is durable, but completely excludes ventilation.
- Profile. They are strips of polyethylene foam with a multi-cell structure. After installation, they completely repeat the shape of the tiles, without blocking the air circulation.
- Universal. All types of mineral wool, hemp, plant fibers are suitable. It will take a lot of time and effort to fix these substances, but there will be good savings in money.
Sealing should not be neglected, since the quality of the microclimate under the roof largely depends on it.
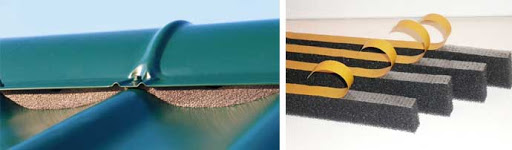
An excellent solution for speeding up construction and performing it at a sufficient quality level is the use of an aero element. It is an elastic band with a thick perforated rubber band around the edges. This design provides tight contact with the edges of the shingles wave, ventilation and protection from insects. The length of the product is 100 cm, the price is quite affordable, and the fastening does not take much time.
How to calculate the height and length of the plank
The choice of profile depends on the width of the opening left between the slopes after the last piece of metal tile has been fixed.
The height of the shelf should exceed it by at least 10 cm. It is not worth striving for the maximum, since large profiles clutter up the structure.
To calculate the length, you need to measure the length of the roof along the ridge and divide it by the size of one fragment minus the 10 cm overlay. Round up the result.
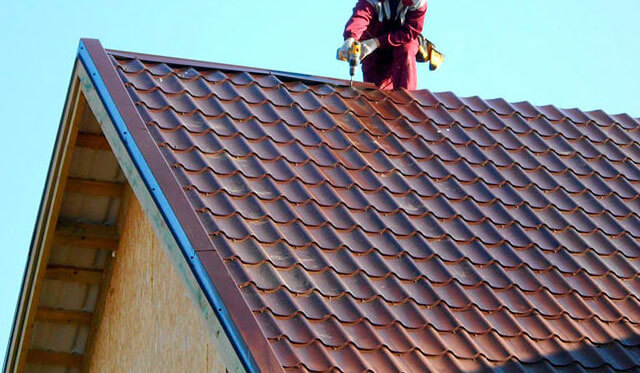
Installation technology
To install a skate on a roof made of metal with your own hands, you will need a screwdriver with a drilling mode, insurance, goggles and gloves. Fasteners are carried out with self-tapping screws with a drill and silicone washers.
It is recommended to mount the profile in the following sequence:
- Attach the selected seal or fill the opening with foam.
- Take the first profile, attach it to the corner, align it along the edge of the slope and screw it to the tile.
- Make markings on both sides of the deck. The applied line will be a reference point along which the rest of the fragments will be attached. Check that the distances are the same.
- Install, align and fasten the ridge profiles with a screwdriver one by one. The overlay should be at least 10 cm, the joints are sealed with mastic, the last link is trimmed along the edge of the slope.
In conclusion, plugs are placed and the structure takes on a finished look.
Tips & Tricks
It is necessary to fasten the ridge to the metal tile in dry, warm and calm weather. It is imperative to think carefully about safety issues, especially when working on a steep roof.
It is necessary to screw in the self-tapping screws exactly perpendicular to the surface, tightening them so that there are no gaps and the metal does not get out. When carrying out installation, it is not necessary to screw in the self-tapping screws too often or rarely. It is necessary to find a middle ground so that the strip does not curve from an excess of fasteners and does not flap in windy weather with a lack of it.
It is better to buy shingles and accessories from one manufacturer to be sure that the colors and sizes match.
It is recommended to paint over the cuts, this will prevent the development of corrosion.


