Stove heating in a private house is a reliable and efficient option. But the stove structure must be chosen carefully. The device should warm up the whole house, not just 1 room, and there are no additional heat sources like radiators or pipes. The Swedish stove heats the building and allows you to cook food.
Swedish stove design
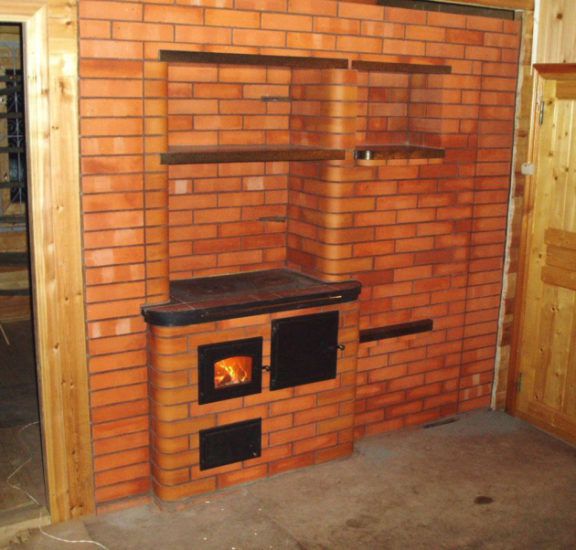
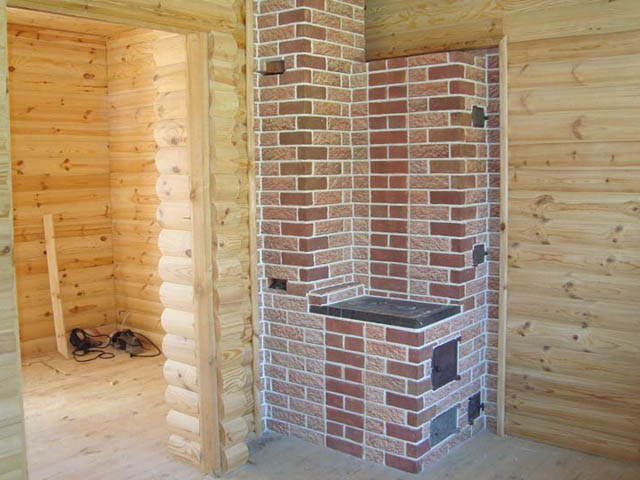
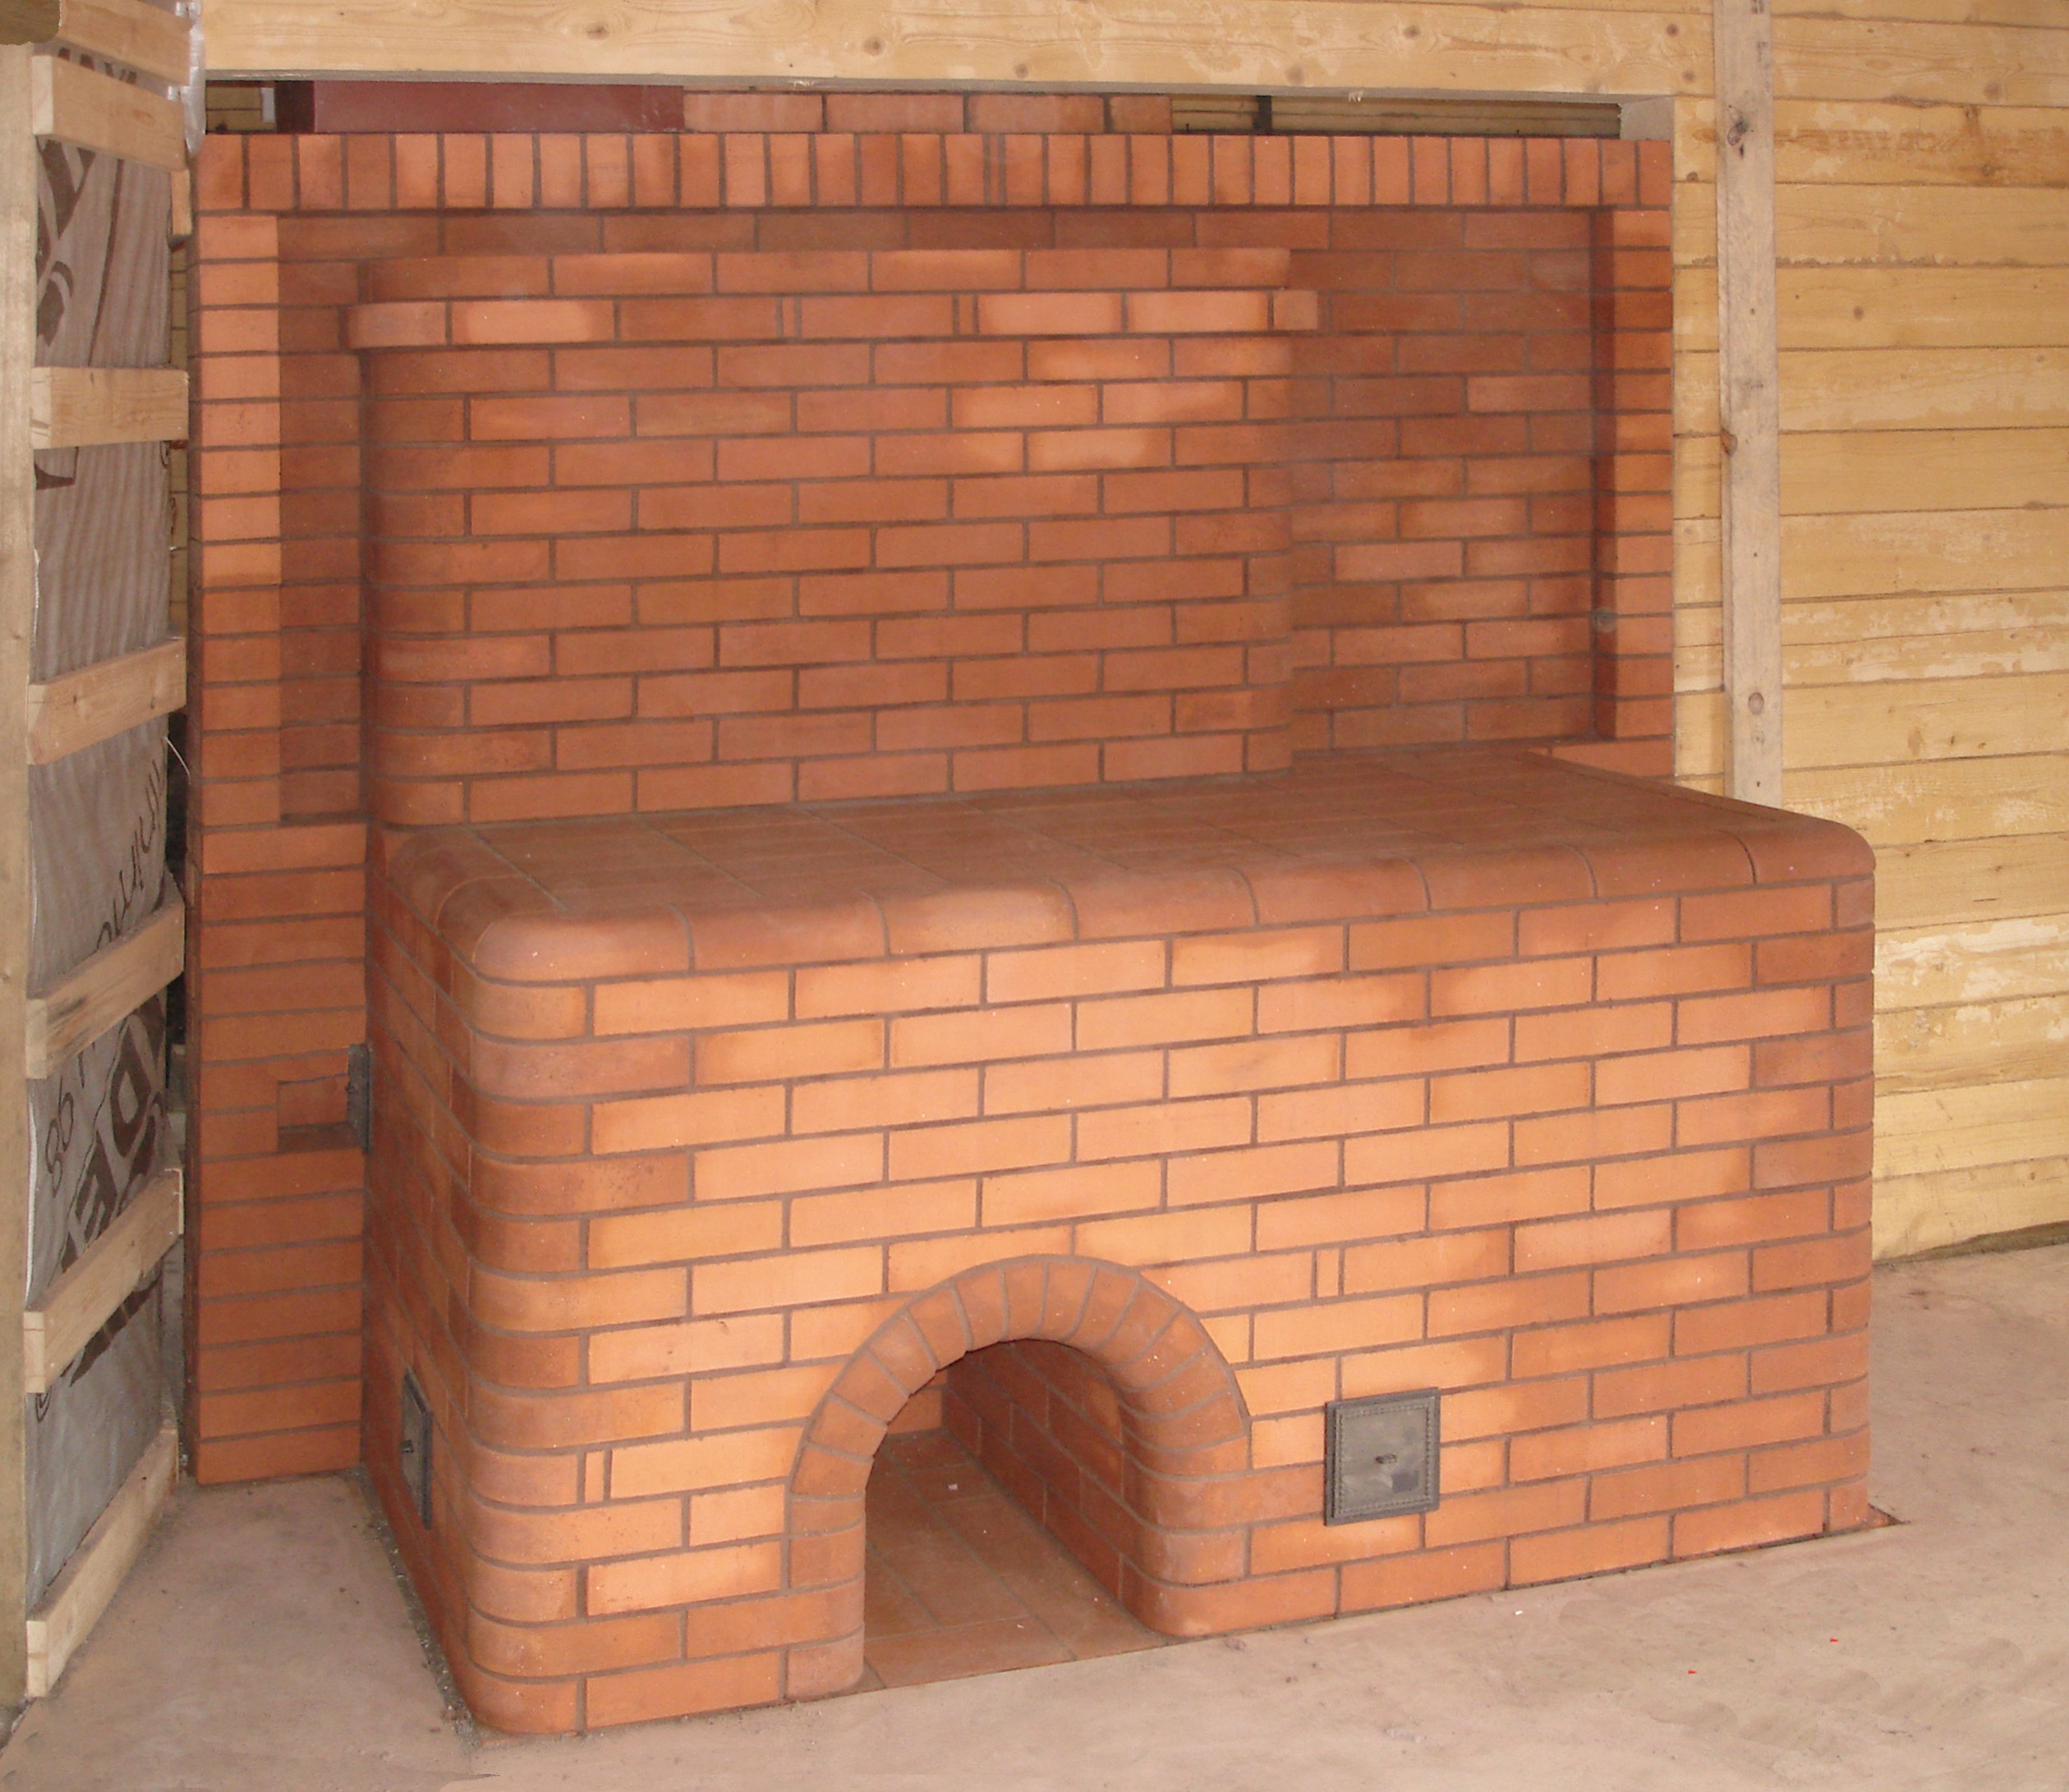
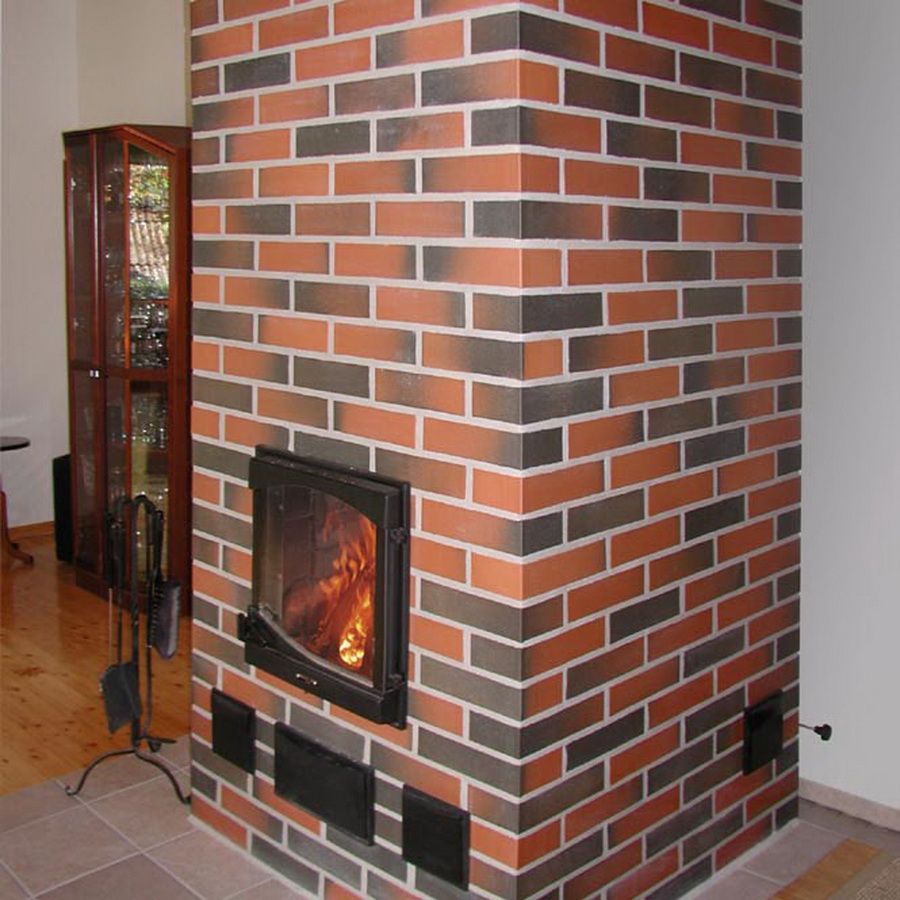
Rectangular brick structure designed for home heating. Equipped with a hob, which is placed in a niche in the back of the cabinet. An oven is usually present.
In appearance, the Swede looks more like a Dutch woman than a Russian stove. The large heating surface area makes it efficient. Typically, the unit is placed between the kitchen and the living area, so that the hob and oven are in the kitchen space, and the flat heating surface is in the living room.
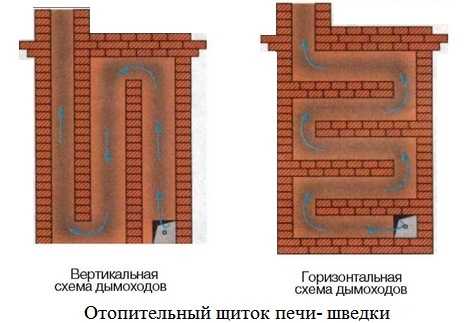
The furnace layout is standard. Fuel burns in the firebox, hot gas is emitted, as well as heated air moves from the firebox through the chimney channels, spreading heat. The main heat exchange is carried out in bell elements above the drying and firebox. The ratio of Swedish elements and additional structures - stove, oven, determines its features.
- The Swedish oven is located almost on the same level with the firebox, is large and is made of cast iron. When firing up the stove, the oven plays the role of a hood - it helps the afterburning of fuel and promotes better heat release. If you open the oven, the kitchen will warm up in 3-4 minutes. Often, the oven is used in this capacity.
- The Swedish brick stove is equipped with an upper niche. It also plays the role of an air cap. The niche also serves as a kind of drying chamber. Here you can dry 2-3 sets of wet winter clothes along with your shoes in 3-4 hours.
- The lower niche is 1 unit with the hob. Food is prepared here. When the heating is stopped, the niche acts as a thermos. Food is kept warm and fresh until the next day. To prevent mice from assaulting food, the niche is closed with a wooden lid.
- The chimney ducts and the firebox are connected without a highlighter - this element increases the cost and complicates the design. But because of this, the Swede quickly cools down after stopping heating. To keep the heat, close the view immediately after the end of the firebox.
The back of the stove, if placed in a living room, can be fitted with a shelf or a stove bench. The shelf is small - no more than 0.7 m wide, so it is inconvenient to lie on it. They use it in a different way: they install a bed above the shelf. It is heated by warm air from a brick ledge, so you can sleep even in an unheated house with all the comforts. Bed linen is often stored on the shelf, since dampness does not threaten it here.
In the original design, the lower niche is arch-shaped. However, its laying requires high qualifications. In modern Swedes, it is given a simple rectangular shape.
Advantages and disadvantages of the oven
The Swedish stove has many advantages. However, they are an advantage only for a small private house, where they live all year round.
Pros:
- Compactness - the main structure without a bench takes about 1 sq. m. area and reaches a height of 2 m.
- High efficiency - a furnace unit of this size heats up to 30 sq. m.provided that it is installed on the border of 2 rooms. Although the efficiency of even a simple coal boiler is higher.
- Functionality - the oven heats the house, you can cook and even bake bread in it. Clothes and shoes are dried in the upper niche. If a bed is attached, you can sleep on the stove. Arrangement of a fireplace on the side facing the living room is allowed.
- Simple masonry - installation does not require high qualifications. However, the order should be done very carefully and precisely according to the scheme.
- Any fuel - you can use coal, wood, pellets, peat. But the amount of heat generated by the stove depends on the type of fuel.
- Economy - in order to maintain an optimal regime in the country, it is enough to heat the Swede twice a day.
- The unit provides quick warm-up - in 3-4 minutes.
- The heat exchanger is a combination of vertical channels. They retain less soot and dust and do not need frequent cleaning.
The disadvantages of the Swede are also due to its design:
- The height of the fuel chamber is low. In addition, its upper part is a cast iron hob, which gives off heat much faster than a brick wall. The loss of heat leads to a strong cooling of the combustion zone. Fuel burns worse, not completely, so more coal or wood is required to obtain a certain amount of heat.
- The firebox door and hob are weak elements. The door is allowed to be installed only from cast iron, since the stamped sheet quickly burns out. For the same reason, the cooking deck has to be changed frequently.
- Masonry is carried out only on fireclay clay, bricks - red clay and fireclay.
- After a long downtime, the Swede is melted in several runs, since the brick walls absorb a lot of moisture. For summer cottages, where they live in shortcuts in winter, this option is not suitable. It takes too long to prepare the stove for constant heating.
The Swedish stove can be turned into a real decoration. For cladding, tiles, ceramics, decorative stone are used, provided that its thermal conductivity indicators coincide with the parameters of the brick.
Materials and tools
For a Swedish stove, you will need:
- red brick for the body and chimney, fireclay for the firebox;
- fireclay clay for masonry mortar;
- furnace doors, cast iron grate;
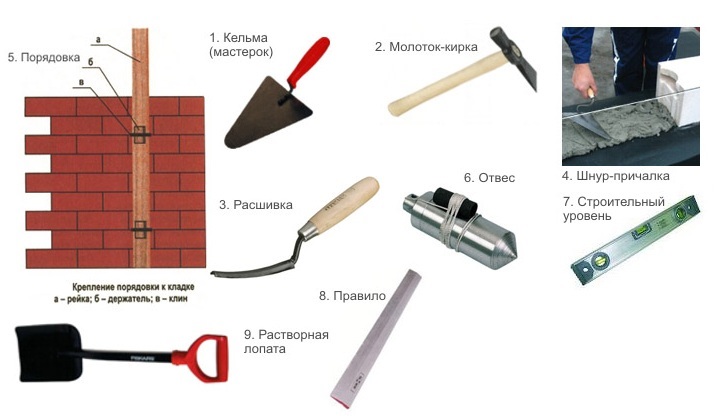
- trowel, mallet, pick hammer;
- as a rule, a plumb line, lath-ordering and other devices for checking masonry;
- square and tape measure, marker, pencil;
- buckets and shovels.
Additional tools and materials may be needed, such as tiles for cladding.
Diy stove masonry
The construction of the Swedes begins with preparation. It is necessary to calculate its power, find the optimal location - between the rooms, as close as possible to the center of the room. It is better to build a stove simultaneously with the construction of the building itself. It weighs about 3 tons and a separate foundation is being laid for it.
It is allowed to install a stove in a finished building, but for this you will have to disassemble the floors, walls, and roofs. It is easier to buy a metal analogue of a Swede - Ryazanka or another mobile cooking and heating model.
- A hole is dug under the foundation, up to 0.8-1 m deep. The value is determined by the level of soil freezing. The foundation must lie below this depth.
- The scheme is usual: up to 15 cm of compacted sand, 20 cm of broken brick and stone, 10 cm of crushed stone or gravel and a layer of concrete of such a height that it rises 15 cm above the ground level. All layers must be compacted. The concrete is reinforced with a reinforcing mesh: it is placed in the upper layers, not reaching the open surface by 10 cm. The dimensions of the foundation are 10–15 cm larger than the dimensions of the furnace.
- After the concrete has dried, the foundation is waterproofed with roofing material.
- It is recommended to insulate the bottom of the stove. The Swede is designed in such a way that it creates a powerful, downward flow of heat.In order not to lose it, several layers of basalt cardboard are placed under the base of the furnace. A more expensive way is to lay out the lowest row of fireclay bricks.
- A do-it-yourself Swedish oven is laid out according to a certain pattern. You can find a ready-made description for a wide variety of sizes.
- Rows 1 and 2 are always solid. The brick is earthen, laid with an offset and with a strapping. This base provides structural strength.
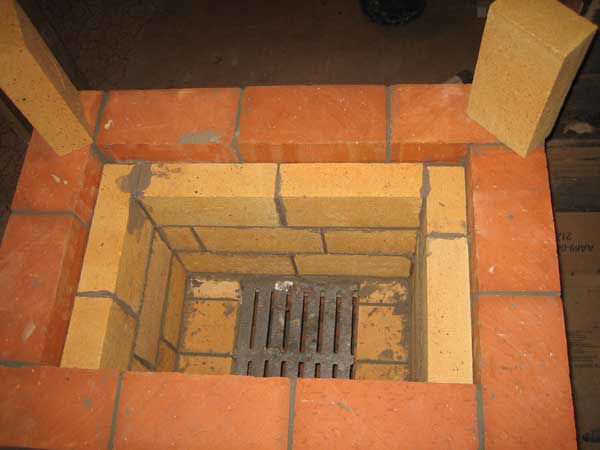
- In the 3rd and 4th rows, an ash pan and holes for cleaning are formed. All of them are closed with doors. Their installation is the same: on a twisted steel wire, which is fixed directly into the brickwork. From the 5th row, according to the drawing, they begin to form a firebox. It is laid out with fireclay bricks, since clay bricks cannot withstand such a temperature. The oven is mounted in parallel. It is fixed in the same way as the doors - they walled up the steel wire between the stones.
- In rows 6-9, they continue to build a firebox. At 6, a chimney is also laid. Fireclay bricks inside the firebox and clay bricks outside are laid so that an air gap remains between them. This prevents deformation of the walls. Fasten the furnace door.
- In the 9th row, the bricks in the chimney are laid at an angle. The desired shape is given to them with a grinder. This ensures the discharge of gases into the chimney. At 10, the installation of the firebox is completed, installing a horizontal partition, and at 11, the hob is fixed.
- From 12 to 18 rows, according to the drawing, chimney channels are built. Their surface should be as smooth as possible. The walls are carefully leveled and the mortar is smoothed out. In the 17th and 18th rows, metal corners and supports are placed to overlap the cooking chamber. An almost continuous row of bricks is laid out here.
- From 19 to 28, an upper drying niche is built and holes are laid for cleaning chimneys with views, and at 27 - a regulating valve.
- At level 29, the smoke channels are blocked, leaving only one main hole for the chimney. The drying chamber is also closed.
- In the 30th row, an expansion is made, and in the 31st they return to their original dimensions. Then they build up a brick pipe in a straight line. Overlapping floors are recommended to be insulated to avoid overheating. In the attic, you can connect a brick chimney with a metal one.
The height and arrangement of the chimney depends on the location and construction of the roof. If the chimney is installed at a distance of 1.5 m from the ridge, its height should exceed the ridge by 0.5 m. If it is from 1.5–3 m to the ridge, the chimney must reach the highest point of the roof.
Varieties of designs
The Swedish stove can be supplemented with fixtures or have a simpler design. The upper niche is often abandoned, since even in the country, the need to dry so many clothes rarely arises.
There are other modifications as well. For example, on the forums you can find the model proposed by Batsulin. The simplified design is effective due to the arrangement of a two-channel chimney. The design of the three-way Swede, proposed by Buslaev, is more complicated, but it increases the efficiency by almost 60%.
With a couch
A stove bench can be attached to the rear flat part of the stove. A full-fledged construction has large dimensions - up to 2 m long and up to 1.8 m wide. Heating such an element requires more fuel, so this model is large.
If they do not want to lose compactness, they attach shelves. The width of the ledge is small - up to 0.7 m, it is placed as low as possible. It is more a bench for a seat than a couch.
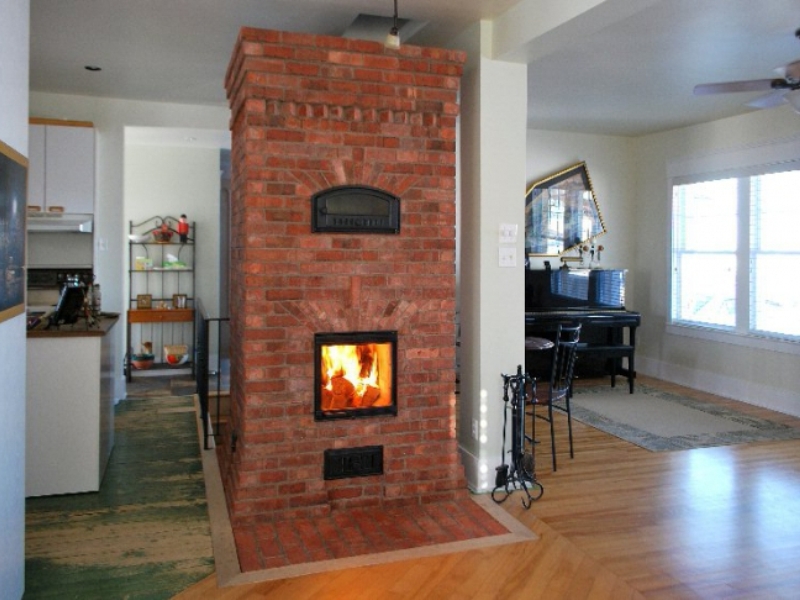
With stove and oven
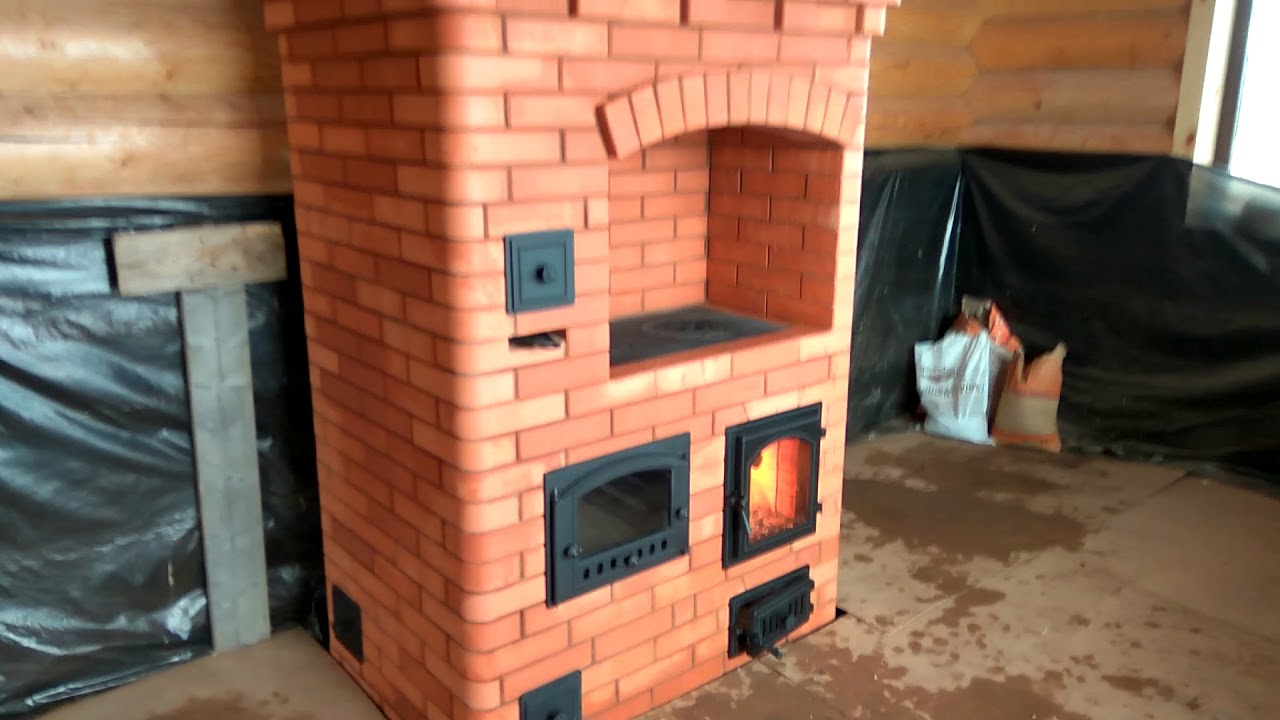
The Swedish stove with oven and hob is a classic model. The design necessarily includes a niche for a hob and a recess for an oven. A closed niche retains heat better than an open hob.
The upper drying compartment can be omitted. However, a small depression in the form of a shelf will not be superfluous: the food left here does not cool for a long time.
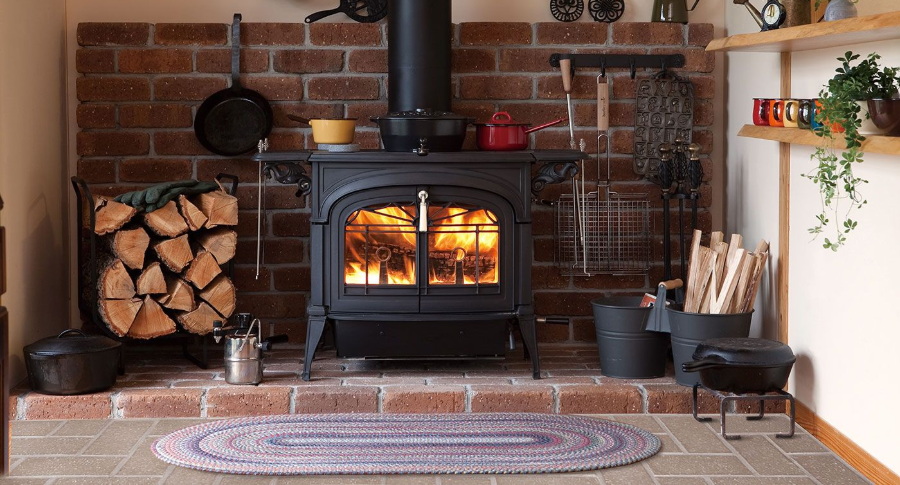
With fireplace
Nice, but not practical option. A fireplace is more a decoration of a room than a heating device.Its efficiency is much lower, since the entire mass of heat is transferred into the room through the relatively small size of the hearth. The fireplace takes air for burning firewood from the room, the room must be equipped with powerful forced ventilation or the windows must be kept open at all times.
The fireplace takes up a certain area of the rear wall - it reduces the heating surface. This greatly complicates the design of the chimney. Combustion products from an open hearth are also discharged through a common chimney; this can be arranged only by carefully calculating the stove-type steam meters and providing a strong draft.
Making a Swedish woman with a fireplace with your own hands is much more difficult. A popular option - the Swede Ryazankina, is striking in its compactness. However, there is a design flaw - thin walls.
Oven operation
The main feature of the Swede is "low-speed" traction. The unit is designed for slow combustion of fuel. During intense combustion, the thin-walled body overheats, and this causes damage to the seams and rapid wear. You cannot heat a Swede with flammable materials such as straw or light brushwood.
Other recommendations should be followed:
- The stove must not be heated to full capacity after a standstill. Perform at least 3-4 runs.
- The ash chamber is cleaned of ash and ash every day. They clean the grate and free the firebox from the remnants of unburned fuel.
- The chimney must be cleaned once a year. This is best done in the fall, before the start of the heating season.
- Once every 3-4 years, the furnaces, ash pan, fireplace, if any, are inspected. If damaged bricks or joints are found, they must be replaced or the mortar must be renewed.
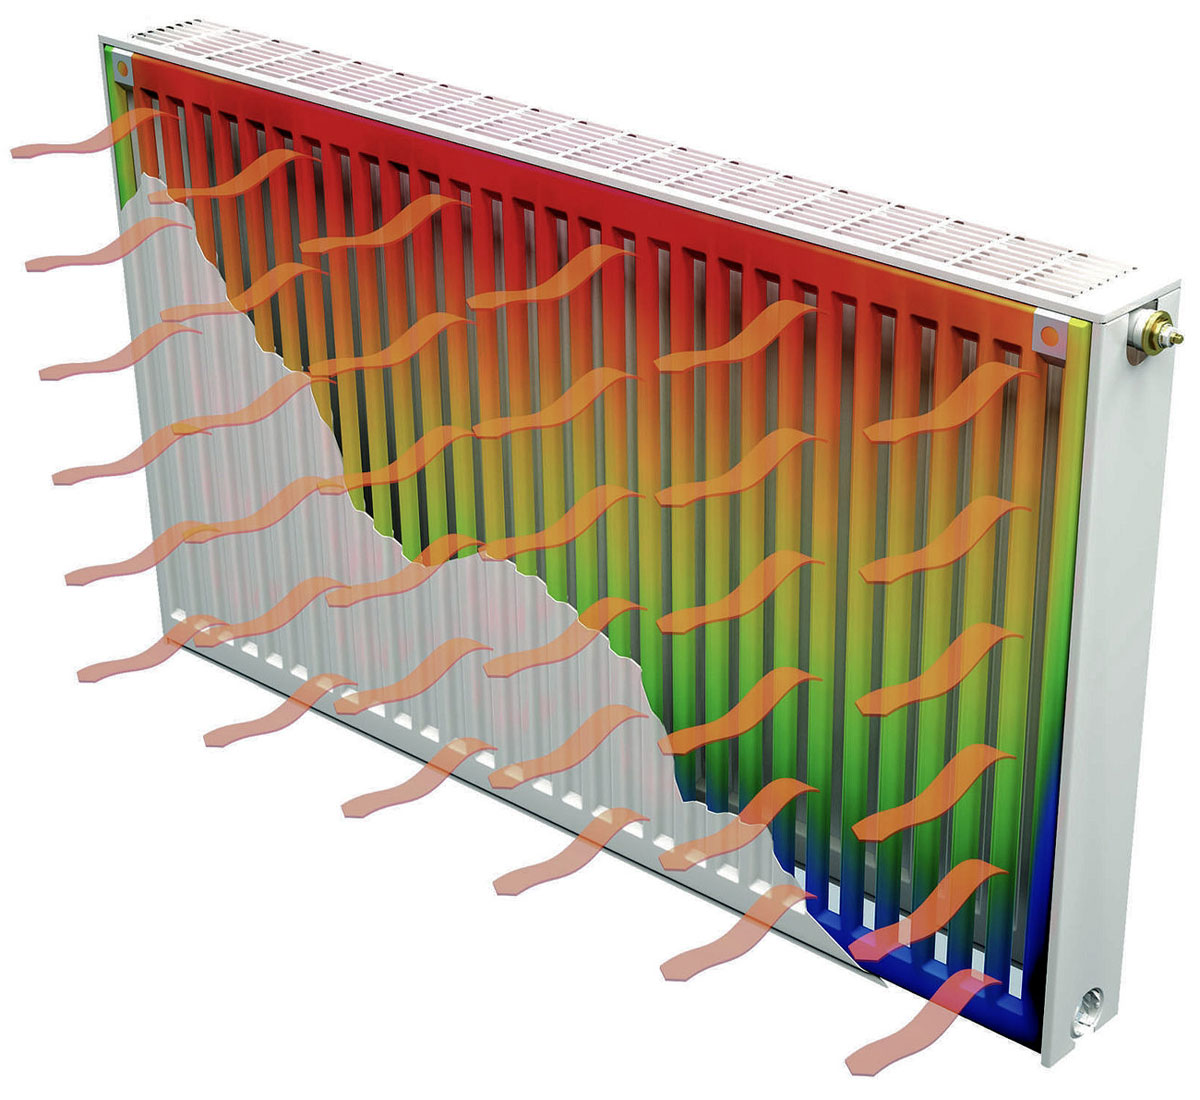
The undoubted advantage of stove heating in comparison with water heating is high efficiency. The Swedes are heated with coal, wood, pellets, which is much cheaper. With the small size of the summer cottage, the structure is sufficient for heating.