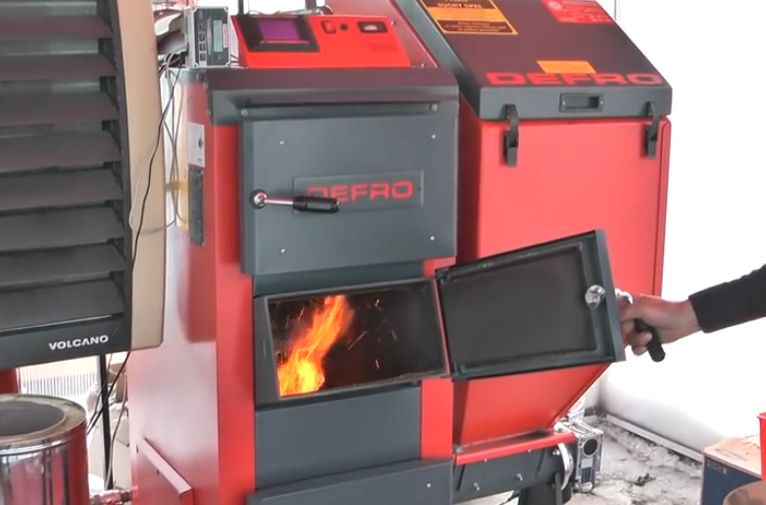
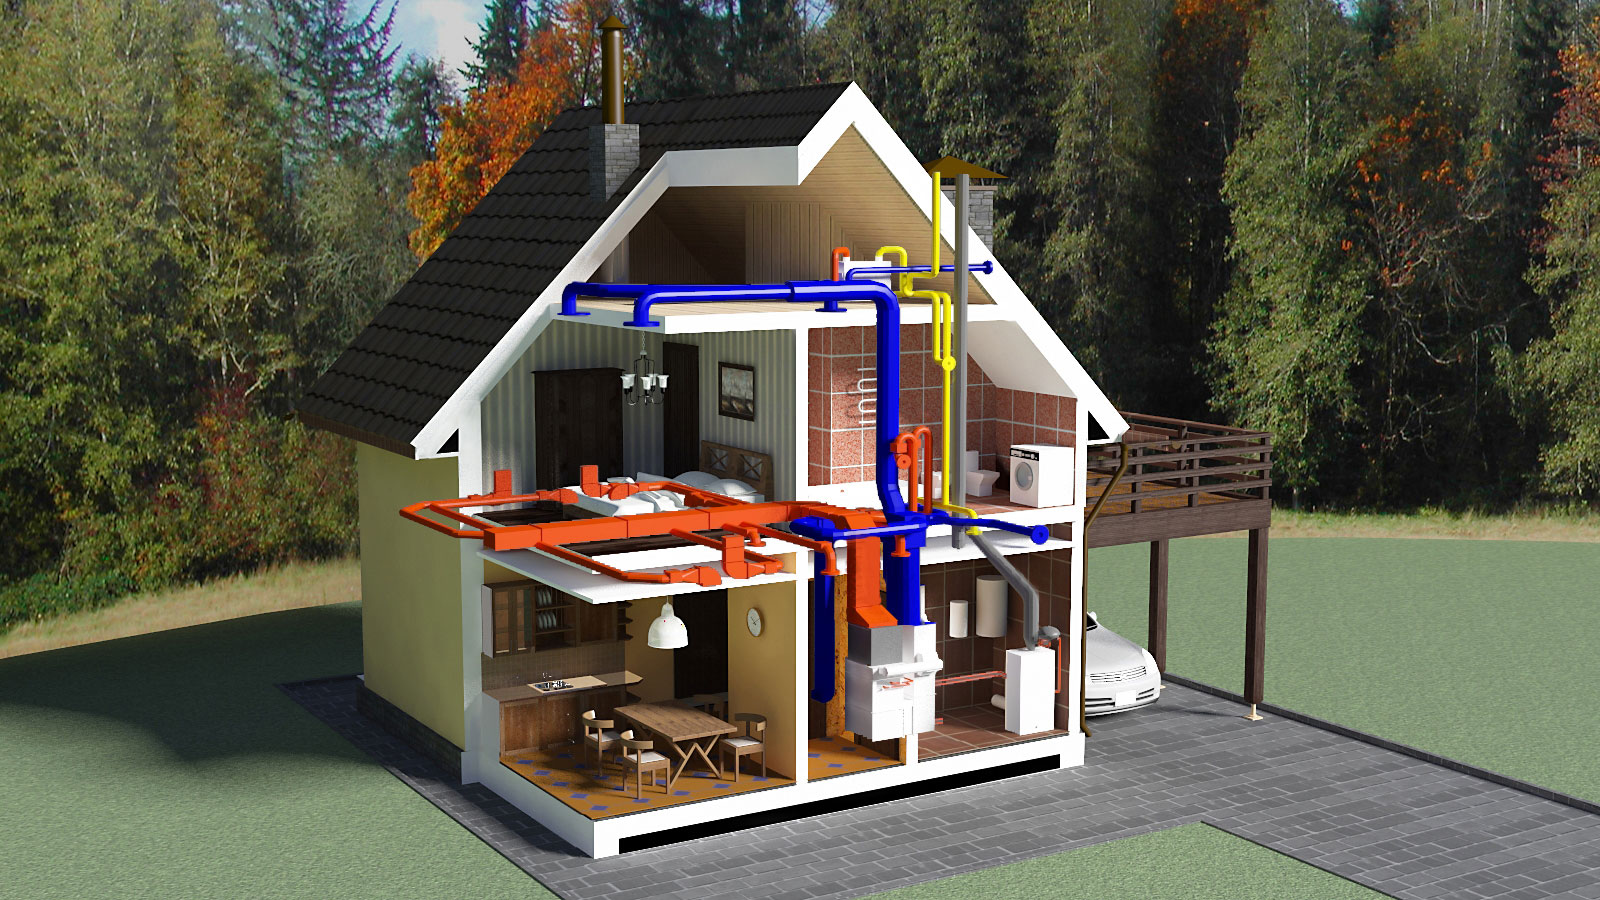
During the construction of a residential building, an important detail is the installation of a heating structure. The modern market offers the use of a warm water floor and warm water walls. Consider the pros and cons of this system and the installation features.
Advantages and disadvantages of water floors and walls
- economic benefit compared to electrically heated surfaces;
- safety in use (electric shock and burns are excluded);
- long period of operation (from 25 years);
- does not dry out the air in the room;
- saves space;
- can be combined with any other types of heating.
Has the following disadvantages:
- installation on staircases is impossible;
- it is extremely difficult to obtain permission for a device in a multi-storey building (almost always the project is denied);
- the risk of damage to the system, which can lead to flooding of neighbors from below;
- installation of a water floor and walls is more expensive than an electric one.
Installation of underfloor heating
The first stage of installation is to create a project. At this stage, you need to decide: will the warm floor complement the heating from the radiator or will become the main source of heating.
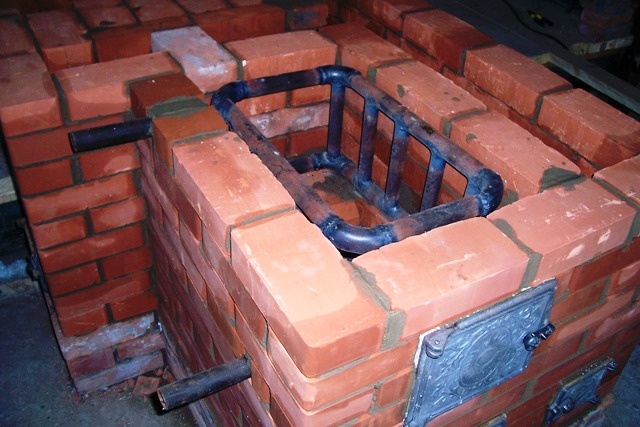
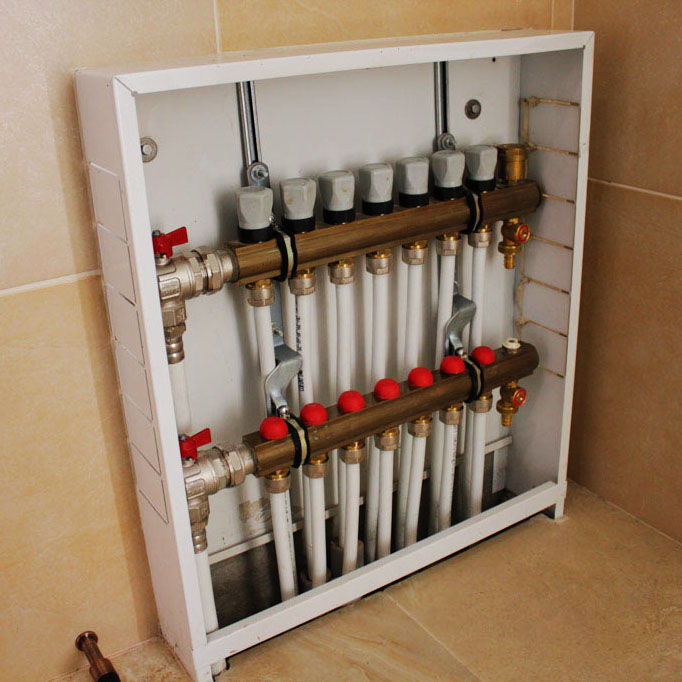
If the installation will be carried out in a private house with several floors, it is necessary to provide for the installation of mixers and manifold assemblies on each floor. In this case, they must be connected to the central riser. The node is most preferably located in the central part of the floor so that the length of the pipes is approximately the same for all rooms.
It is recommended to use ready-made, pre-assembled manifold cabinets. They are factory tested, guaranteed and easy to install. Their main drawback is their high cost, but often their reliability fully pays for itself.
Next, pipes are selected, they are of several types:
- polypropylene;
- metal;
- metal-plastic, based on cross-linked polyethylene.
Polypropylene pipes are the cheapest on the market, but they also have a relatively short period of operation, metal pipes have a higher price and are difficult to install, but their advantage is a long service life. The most optimal pipes in terms of price and quality are products based on cross-linked polyethylene.
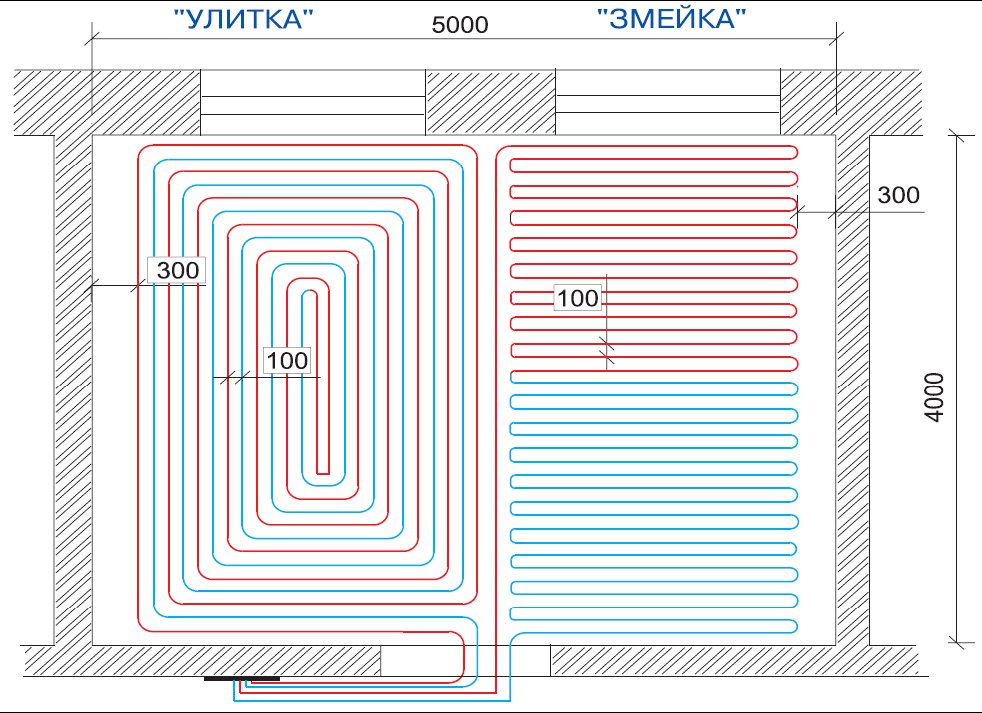
In the project of insulated floors, the type of pipe laying is also provided:
- spiral;
- "Snake".
The type of masonry is selected depending on the size of the premises. In addition to the main types, there are various variations: a double "snake", a simple "snake", a double spiral, etc. Experts recommend laying pipes in a spiral - although this is a more time-consuming method, the heating will be uniform, and the structure will not be subjected to additional bending loads ... "Snake" is more suitable for small rooms - up to 10 square meters. m. You can also use combined methods of laying.
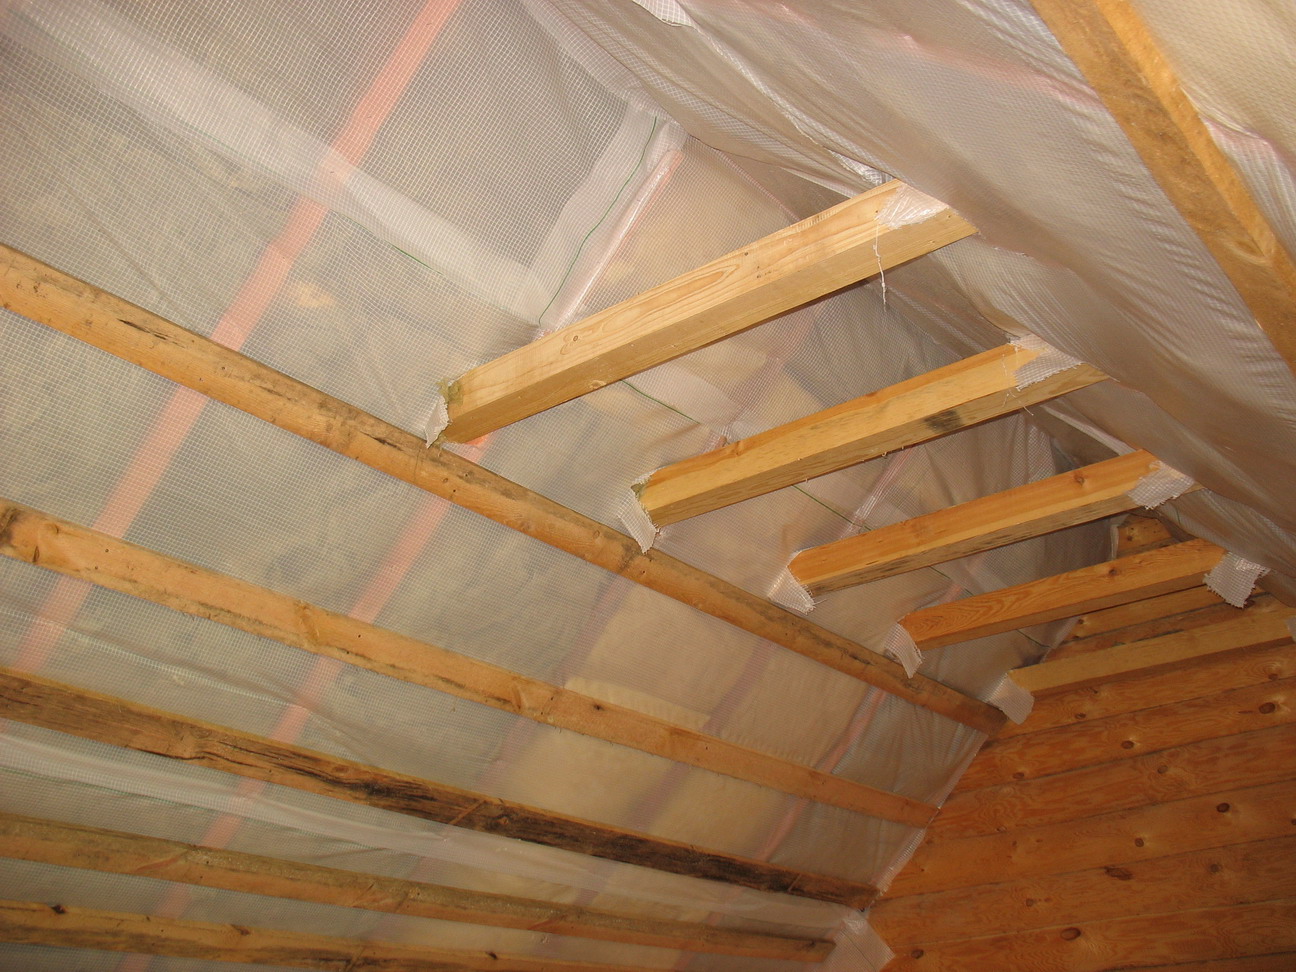
After all the design work and the choice of material, installation begins. The initial stage is the preparation of the base. The surface for laying must be flat, for this you can use a self-leveling self-leveling floor or cement-sand mortar. After the concrete base has dried, thermal insulation is laid. For these purposes, polystyrene or penofol is used.
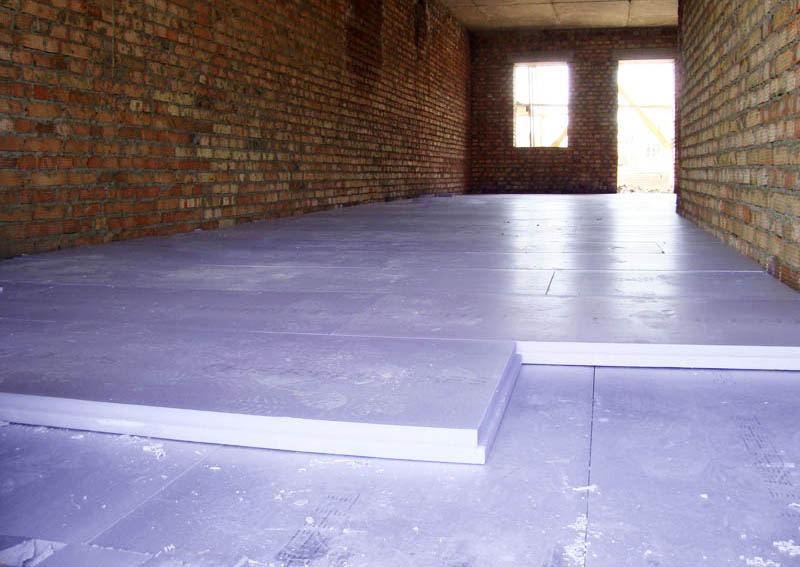
The thickness of the insulation layer depends on the floor:
- for the first or basement floors, under which the soil is located, a layer with a thickness of 6-8 cm is laid;
- for rooms under which an unheated room is located, the insulation layer is 2 cm;
- on the upper floors above warm rooms, a 3-5 mm insulation layer is sufficient.
A reinforcing mesh is laid on the heat-insulating base for fixing, and then the pipes. For ease of installation, it is recommended to apply a pipe layout to the insulation layer. Excessive bends should be avoided during installation. Cutting the pipe - only in place. To avoid possible leaks, do not place them in an interference fit or connect segments.
After all the above work, the pipes are connected to the distribution manifolds and the heating system is tested:
- pipes are filled with a coolant;
- the pressure in the system rises to 5 bar;
- after this, a spontaneous decrease in pressure will occur to 2-3 bar;
- increase the pressure to 5 bar and wait until it drops to 2-3 bar;
- repeat this cycle several times;
- during testing, carefully inspect the system contours for the fact of possible leaks;
- then the working pressure is set to 1.5-2 bar and is left for a day, the pressure during this time should not decrease.
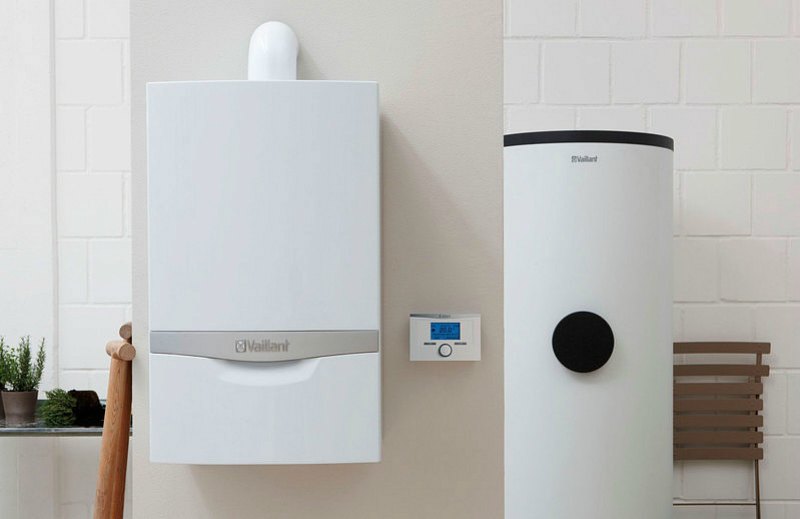
After that, if the operation of the system suits, the final tests are carried out, for this the maximum operating temperature is set on the boiler, and the circulation pumps are adjusted to the operating pressure. The entire heating structure must be heated. Then the check is repeated every other day.
After the checks, the heating is completely turned off for screed filling. The system must be completely cooled down. It is recommended to use a special solution for underfloor heating. For residential premises, the floor thickness above the pipes should be 20 mm, and for utility or industrial premises - 40 mm. It is important to wait until the floor is completely dry before turning on the heating again, usually this period is 28 days.
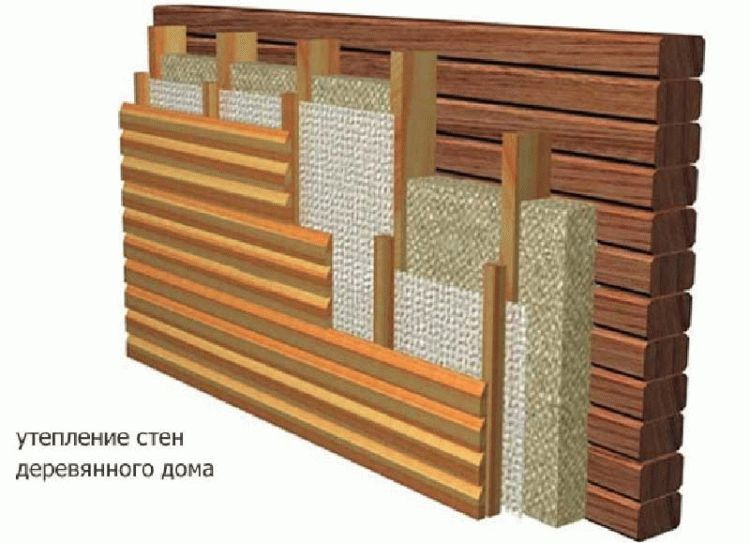
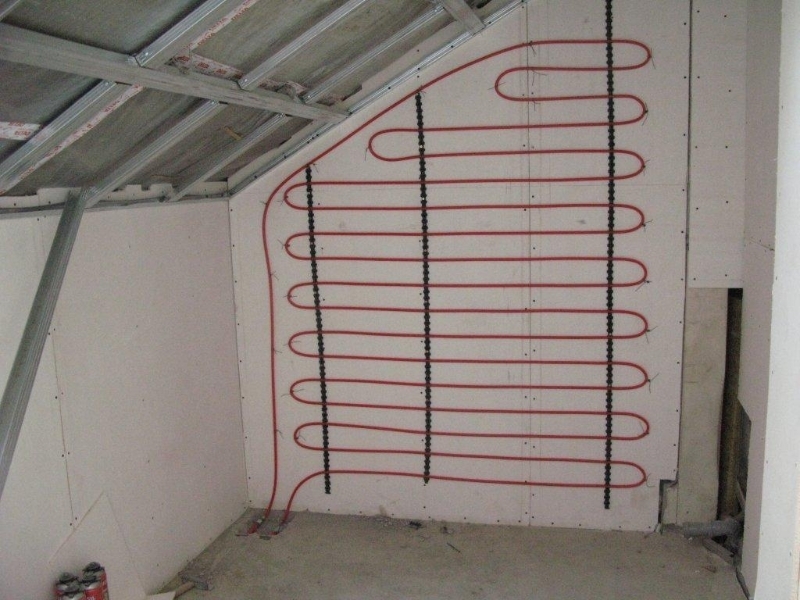
Installation of heating into walls
Installation, selection of material and testing of the structure into the walls is carried out according to the above algorithm. The difference is that the system is fixed with a layer of plaster. The first row of mixture fills the voids between the pipes. Then another reinforcing mesh is attached and the final plaster finish is performed.
Conclusion
Built-in water heating structures will fit well into the heating of a private house, utility and industrial buildings. It is important to follow all the rules for installing the system and its operation.