A standard heat exchanger for a sauna stove on a chimney helps to save on the purchase of a heating device and use heat energy to heat water or heat additional rooms. When choosing a device, it is better to study in advance its purpose and principle of operation, available varieties and installation methods. You can also make such a device yourself, following the step-by-step instructions.
- The need to install a heat exchanger on the chimney and the principle of operation
- Installation methods
- Heat exchanger classification and purpose
- At the location of the warm water tank
- At the location of the heater itself
- Selection rules
- Making a heat exchanger with your own hands
- Required materials and tools
- Calculations
- Manufacturing
The need to install a heat exchanger on the chimney and the principle of operation
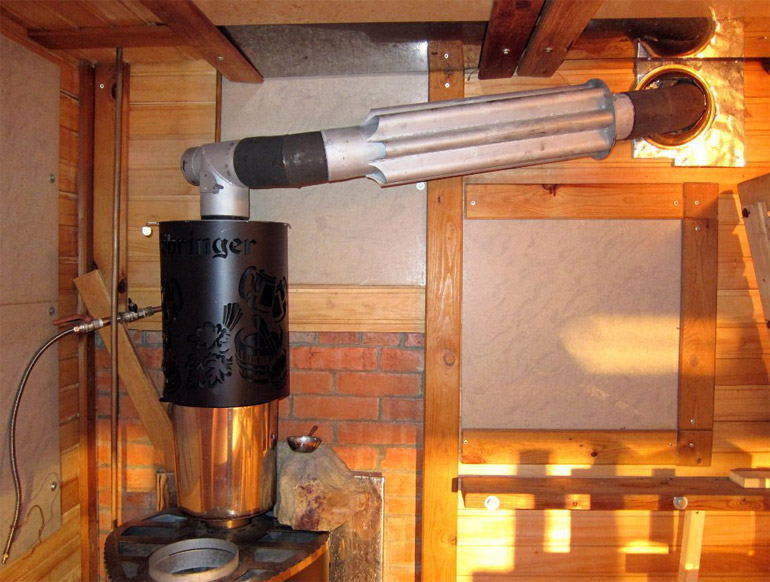
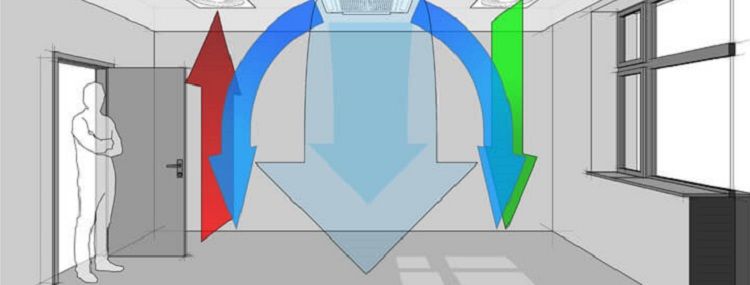
Modern sauna stoves are designed so that devices can reach the maximum temperature inside the firebox in a short time and keep it at this level for a long time. During operation, a significant amount of unused heat escapes through the pipe from the chimney. Heat energy of this type is suitable for heating water or heating rooms next to the steam room. It is best to use the heat that is released during the combustion of wood and supplement the device with a factory or home-made heat exchanger. Such elements for heating water are divided into three types:
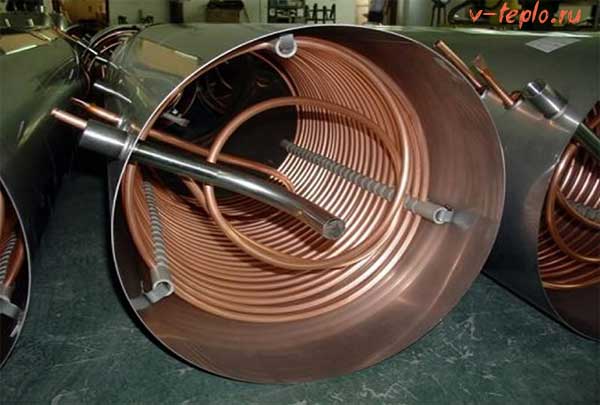
- coil for a standard chimney built into the inside of the heater;
- a heat exchanger for an external chimney, heated from the furnace wall;
- a water circuit that collects heat energy from flue gases.
The coil is built into the firebox and positioned so that the tube is not exposed to direct flame. This element must be placed in the path of the outgoing combustion products, in which case it will serve as long as possible and will not start to burn out. In structures of this type, the water will heat up quickly enough, but at the same time the device will begin to reduce the power of the device for heating. The outdoor device is simple in design and affordability, but it is not very easy to maintain and requires constant replenishment of water supplies. Such tanks are suspended from the sides of the firebox and heated by infrared radiation from it.
The best option is considered to be sauna category stoves with heat exchangers on the chimney, which are flow-through heaters with a capacity of 5-10 liters. An element of this type can be connected to a part with a remote storage, the volume of which ranges from 60-120 liters, taking into account the power characteristics of the device. During the heating process, the water inside the tank reaches the required temperature.
Installation methods
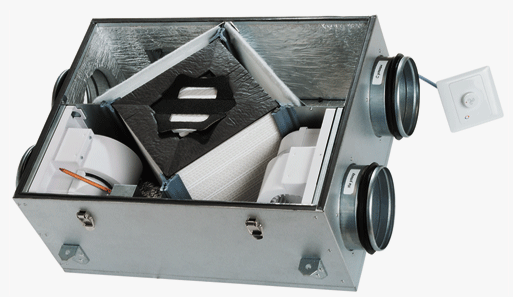
Installation of a heat exchanger is easiest to carry out if the element is supplied with the purchased furnace equipment. In this case, it is enough to study the instructions for servicing the unit and carry out the assembly taking into account the diagram. When installing a water circuit inside a gas duct or a brick furnace, the register is made in advance from stainless steel or a thick-walled tube, after which it is built in in accordance with the drawing of the heater.
If the element is made at home, it is better to focus on the models of similar devices, finding their technical characteristics and calculating the required area of the part. A do-it-yourself heat exchanger for a chimney, working as a water economizer, is purchased ready-made or welded from pipes with different diameters. The longer the circuit, the more efficiently it will transfer thermal energy to the chimney.
Heat exchanger classification and purpose
Devices are divided into several varieties, taking into account their main design characteristics and purpose.
At the location of the warm water tank
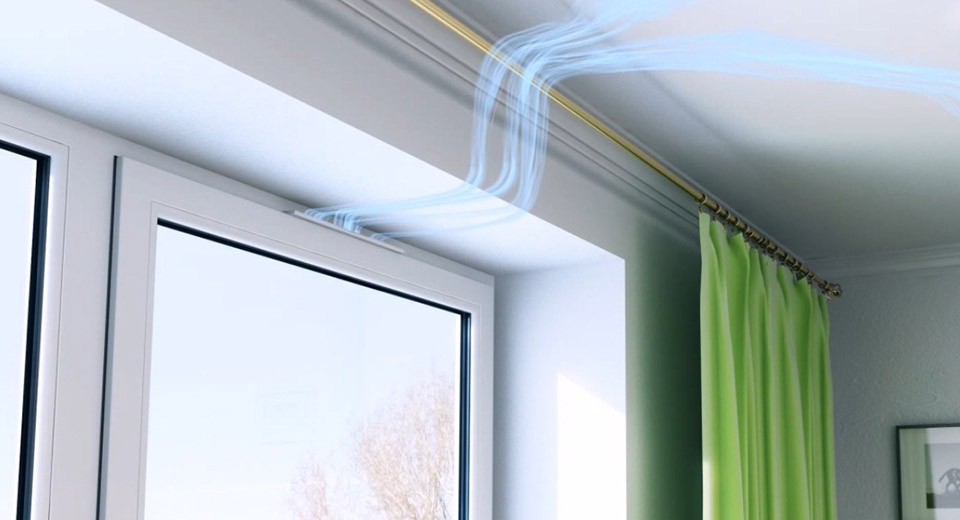
Tanks can be installed in a steam room, shower room or in the attic, each location has its own advantages and disadvantages. In the first case, it is possible to significantly reduce the dimensions of the water supply system and speed up the process of heating the water, at the same time it is necessary to take into account the area of the room. The best option is to install a container in the shower room, which only slightly increases the length of the pipeline. To solve the problem with the low pressure of the water jet, it is better to take the container to the attic. This method requires an increase in the number of pipes and provokes heat loss if the tank is not equipped with insulation.
At the location of the heater itself
The heat collector for the sauna chimney can be placed in the stove or not far from the unit, both options are fully accessible, but at the same time they have specific features. The internal element makes it possible to quickly heat water, the only drawback is its rapid boiling. If such a device is urgently needed to be replaced, for this purpose it will be necessary to disassemble the furnace equipment. Cleaning the internal heat exchanger also causes problems due to the accumulation of a thick layer of scale on its walls. The part located near the chimney does not have such shortcomings, since the temperature of the tube is not enough to heat the water near the walls of the device. It should be borne in mind that in such a situation, heating will take longer.
Selection rules
Before choosing a standard or air heat exchanger for a chimney pipe, you need to take into account all the pros and cons of each type. The selection of a suitable device is influenced by its purpose and the degree of performance. The simplest option is considered to be a coil made of a tube bent into a ring, which is located in the tank. More often, more complex options are used for sauna stove equipment, consisting of two containers connected to each other using pipes.
In this case, the fuel heats up the lower tank, after which the heat is transferred to the upper tank. This method makes it possible to heat water, but at the same time heat the space of the dressing room and steam room. Furnace units with built-in heat exchangers are filled with antifreeze or water. They function by the natural circulation of fluid due to temperature differences. At the same time, there are options equipped with electric pumps.
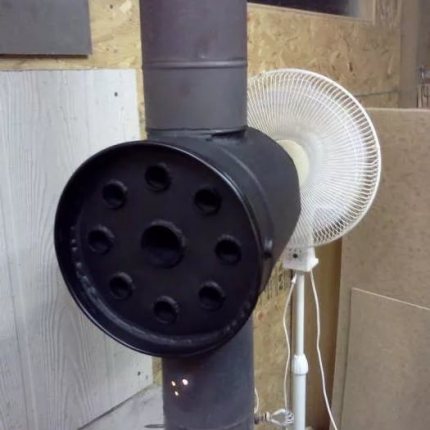
Chimneys equipped with a box help to consume the thermal energy of the emitted gases, without consuming that which is released during the heating of the stove. Due to the increase in the volume of the device, the liquid in the tank warms up extremely quickly, and its temperature is kept at a high level.
Making a heat exchanger with your own hands
If necessary, a heat exchanger for a chimney pipe is made by hand according to simple step-by-step instructions. In the process, it is important to comply with all safety conditions and rules, as well as to create a structure with a maximum margin of safety.
Required materials and tools
To create a standard coil-type heat exchanger, you will need a set of standard pipes, metal sheets for the tank, as well as pipes for supplying and removing water to the tank.The list of tools that should be prepared includes a vise, pliers, wrench, metal shears, a flaring tool, and a welder to ensure seams are sealed.
Calculations
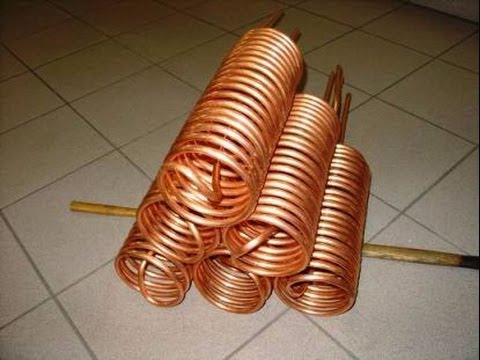
It is quite difficult to carry out the correct calculations for a hand-made device due to the lack of the ability to regulate the air supply. Also, the reason is the uneven quality of the fuel, even if the stove is heated with only one type of wood, and a sharp decrease in the heat transfer of the wood at the end of the heating process. For this reason, all heat exchangers are manufactured with an additional margin of strength conditions. If we are talking about self-assembly, steel pipes with a diameter of no more than 3/4 are used for the furnace, for coils their copper counterparts, the diameter of which is 10 mm. The approximate length of the element is 1 meter, for steel pipes, a distance of 10-15 cm is allocated, for copper options it should be much less.
Manufacturing
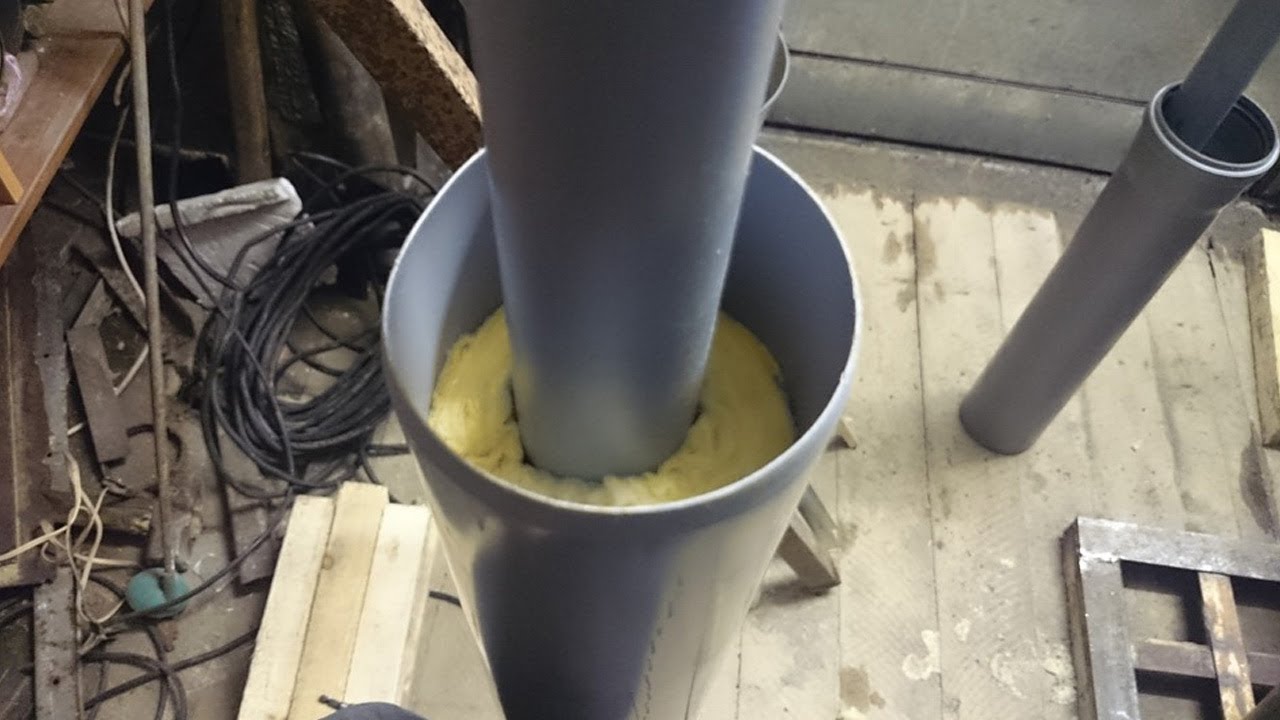
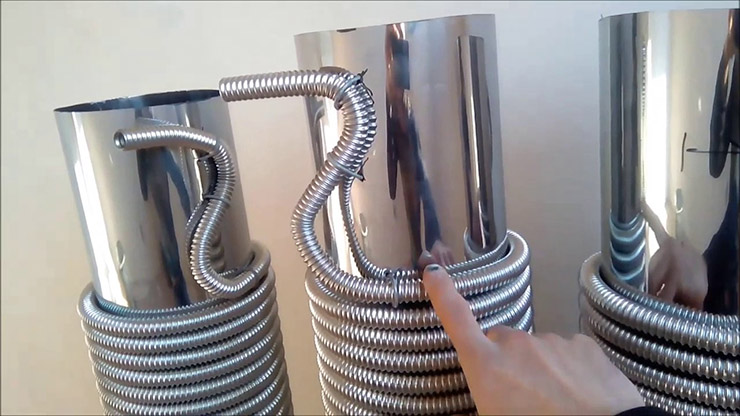
You can make a heat exchanger for a sauna stove on a 115 mm chimney using step-by-step instructions, which include the following steps:
- Creation of a coil from a copper tube with a diameter of up to 10 mm.
- Flaring the element at the ends to form a transition to the diameter of the selected tube.
- Cutting out the outlet holes in the section of the smoke piece.
- Installation of bends and coil.
- Installation of the tube and other parts to the chimney.
If it is necessary to make an internal heat exchanger, steel pipes are installed in the furnace, for which direct bends are suitable. To prevent the water from heating up in them, an indent is made between each turn. Additionally, it is recommended to install the circulation pump during the installation of the coil. In the firebox, the device is held by brickwork, in the chimney - with the help of taps, which must have an extremely minimal length.
Before connecting, the system must be tested with cold water, filling it completely and inspecting each element. Even a minimal hole can turn into an impressive leak, so such problems should be eliminated at the installation stage.